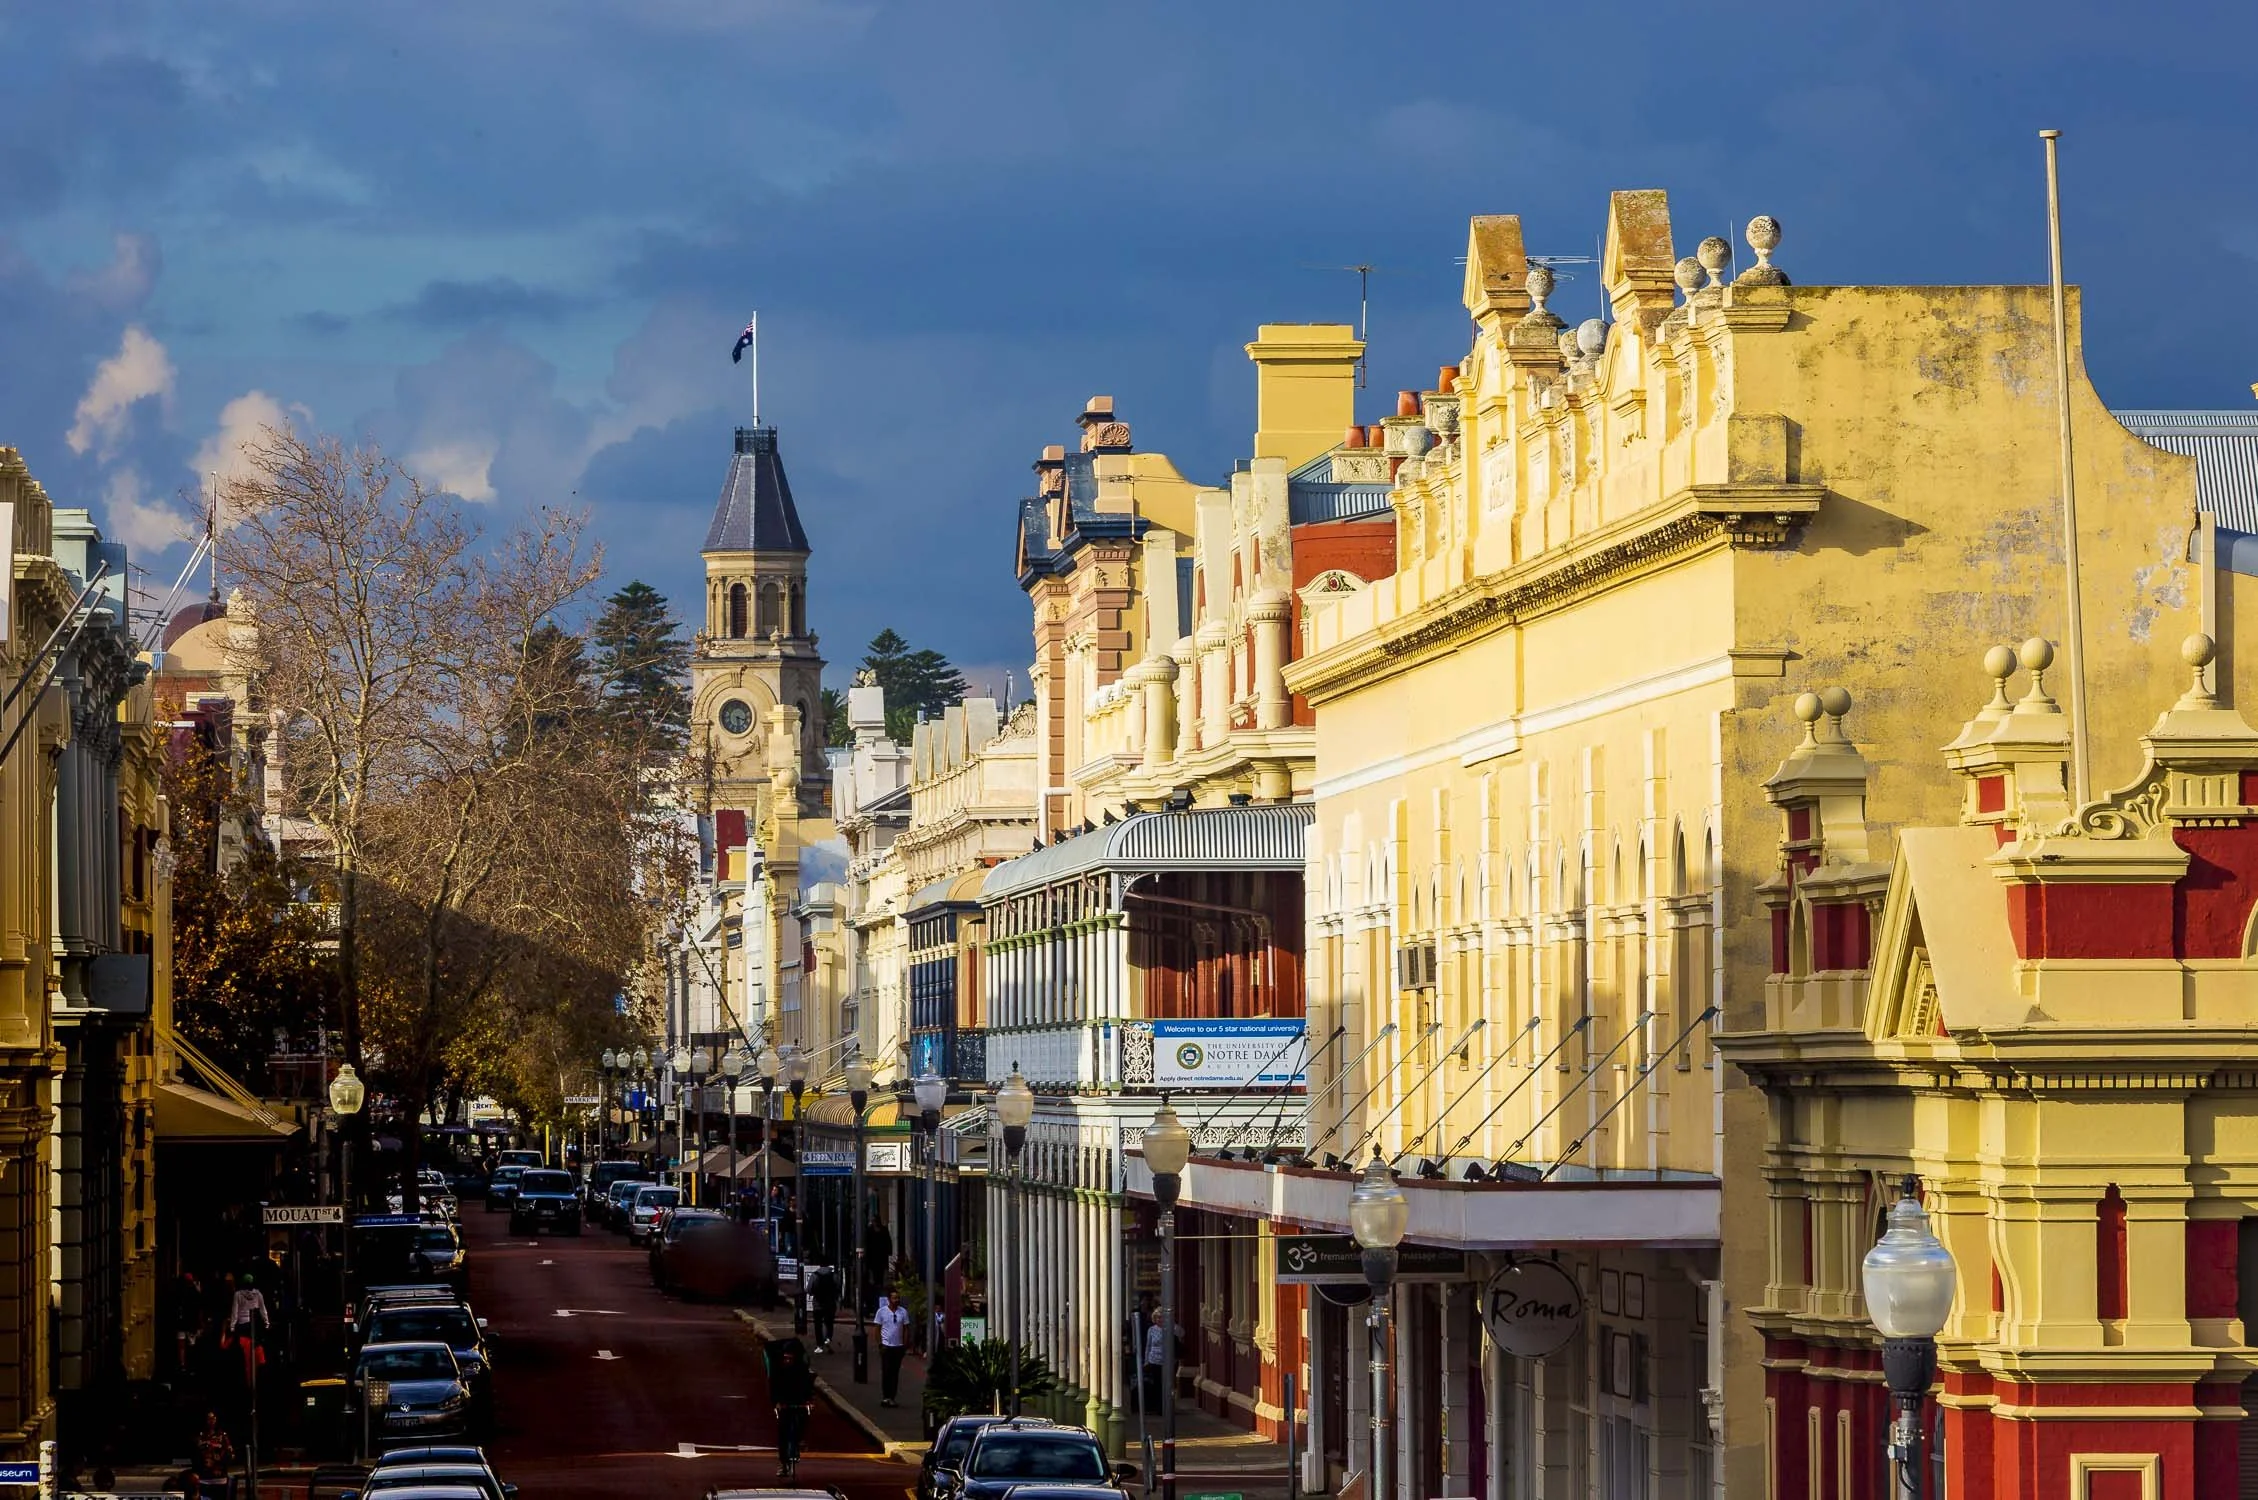
Image No. A9930. Ratio 3:2. 3/6/2017 High St… from the Round House, just before a winter storm. 3/6/2017

Image. F 2
W.A Shipwrecks Museum. Cliff St.
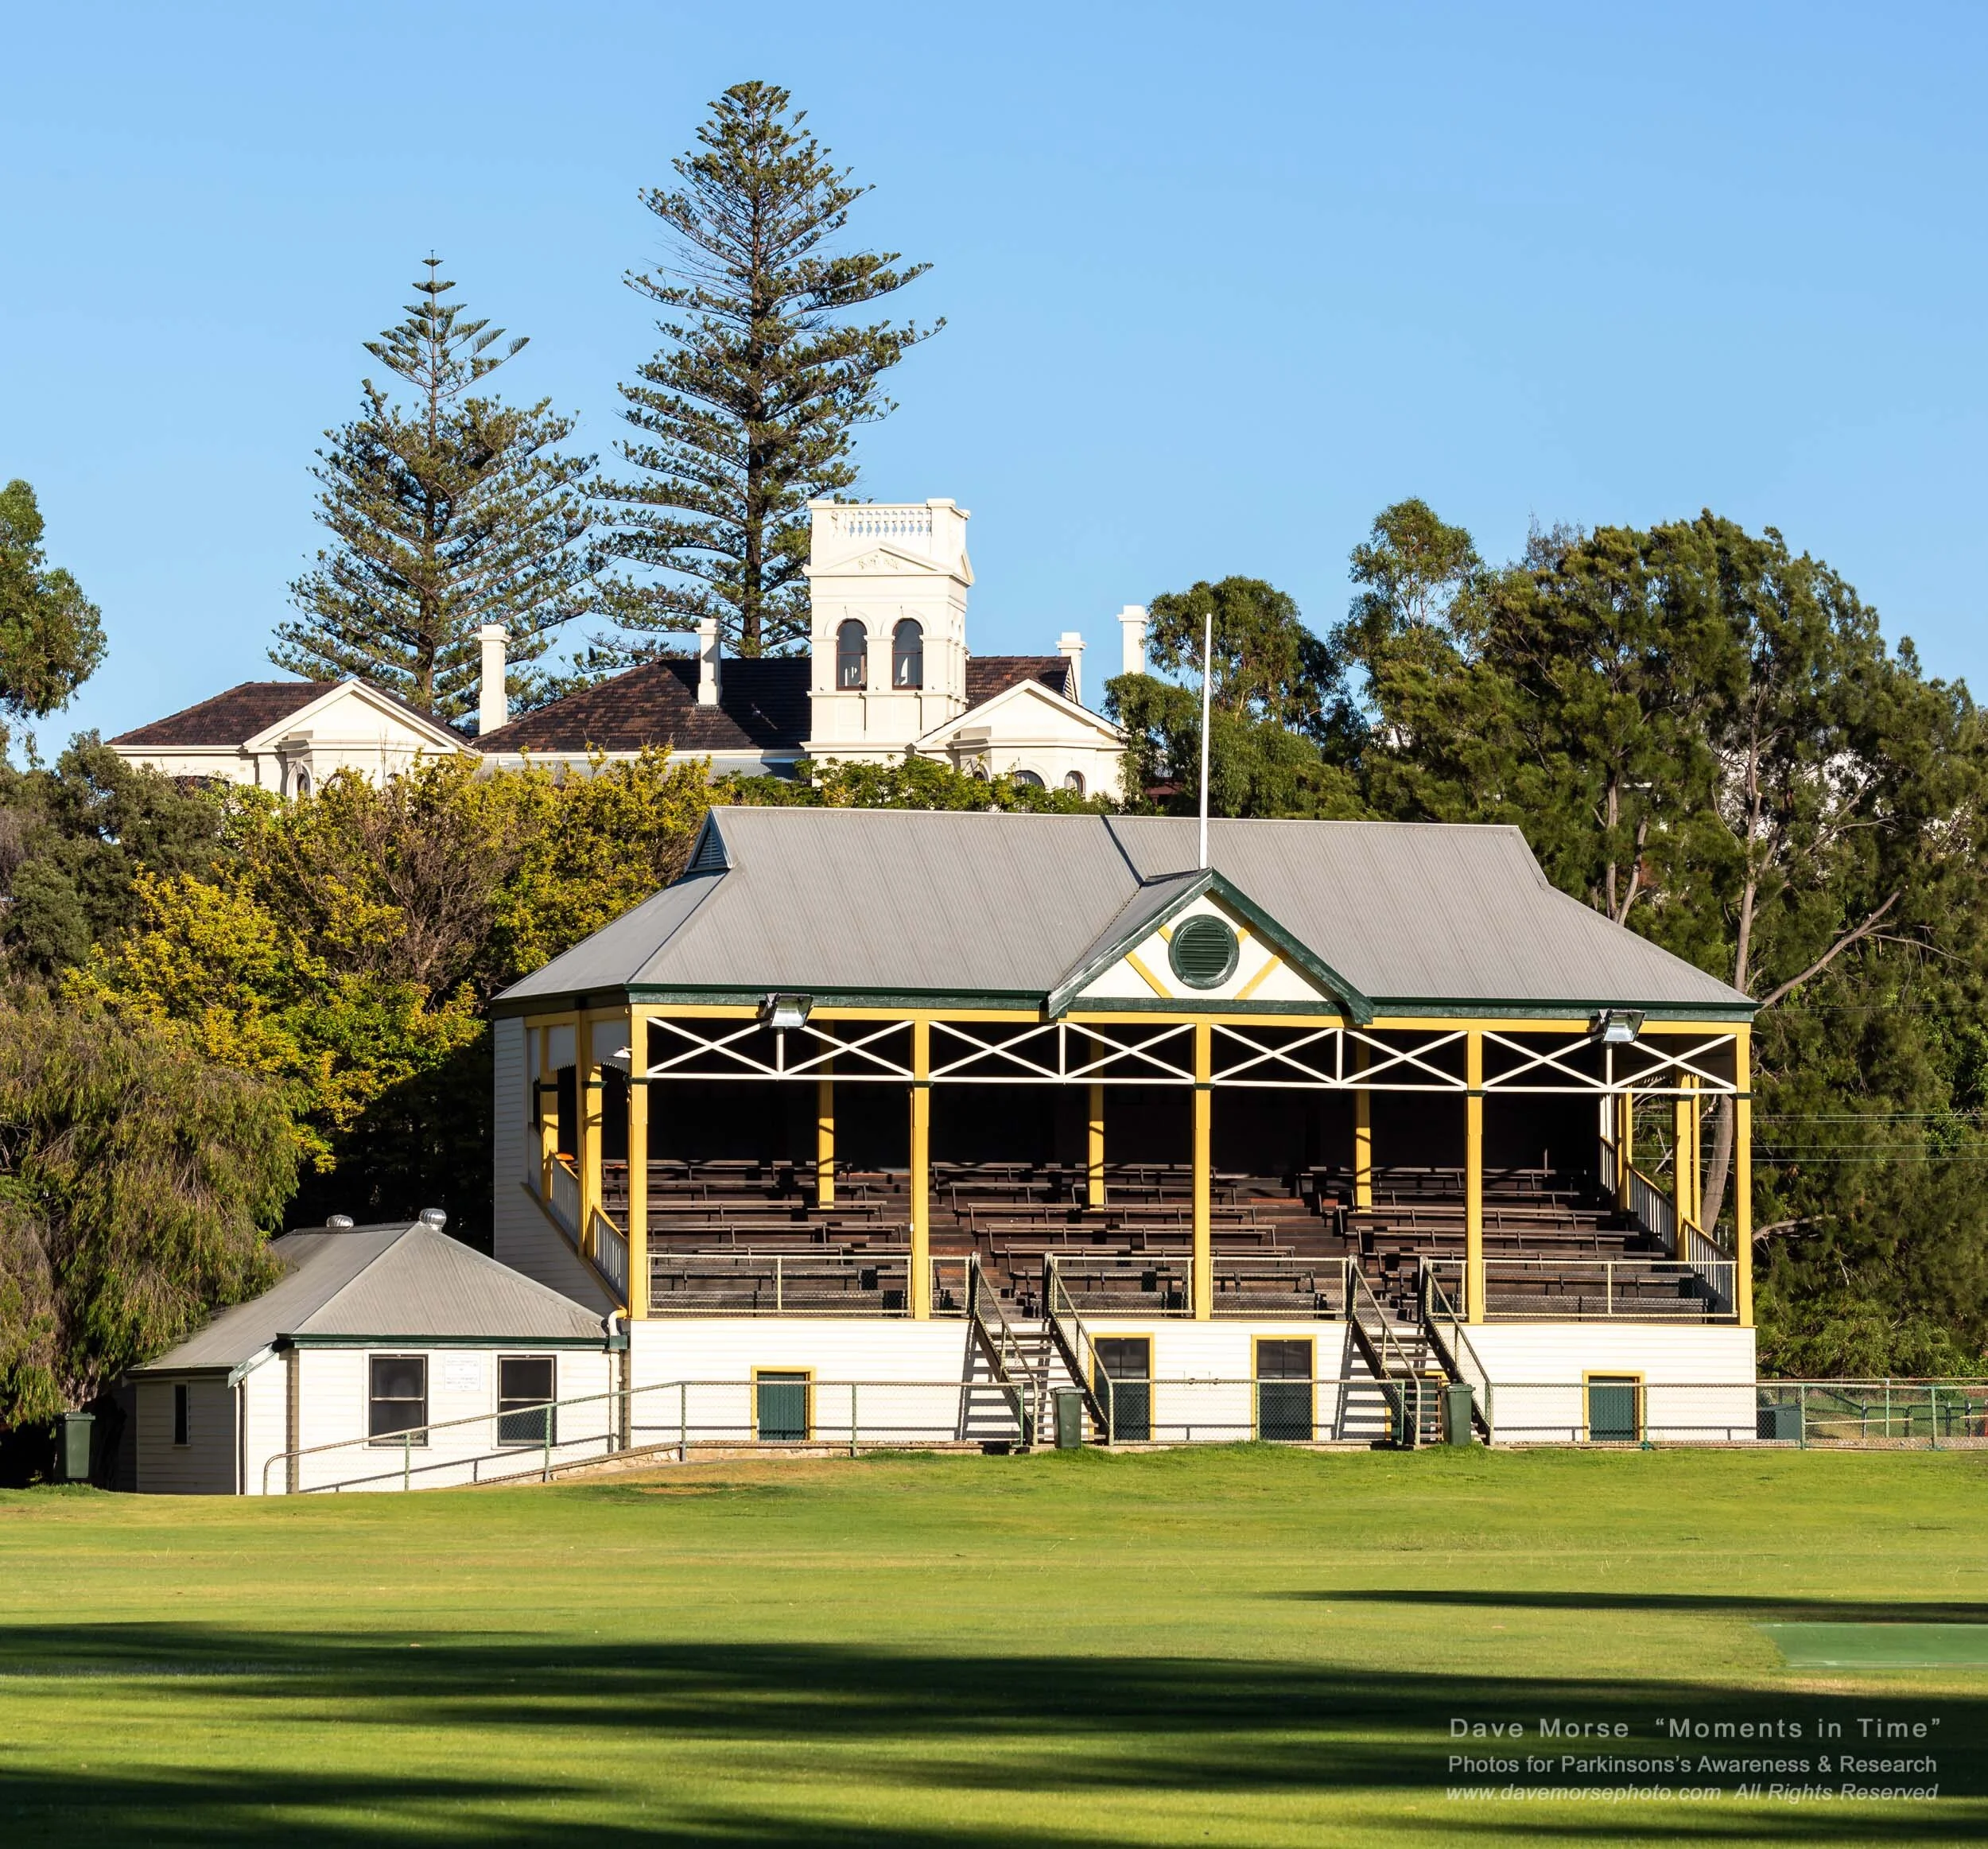
Image. F 3
Old North Fremantle Football Grand Stand.

Image. F 4
The Australian Hotel.
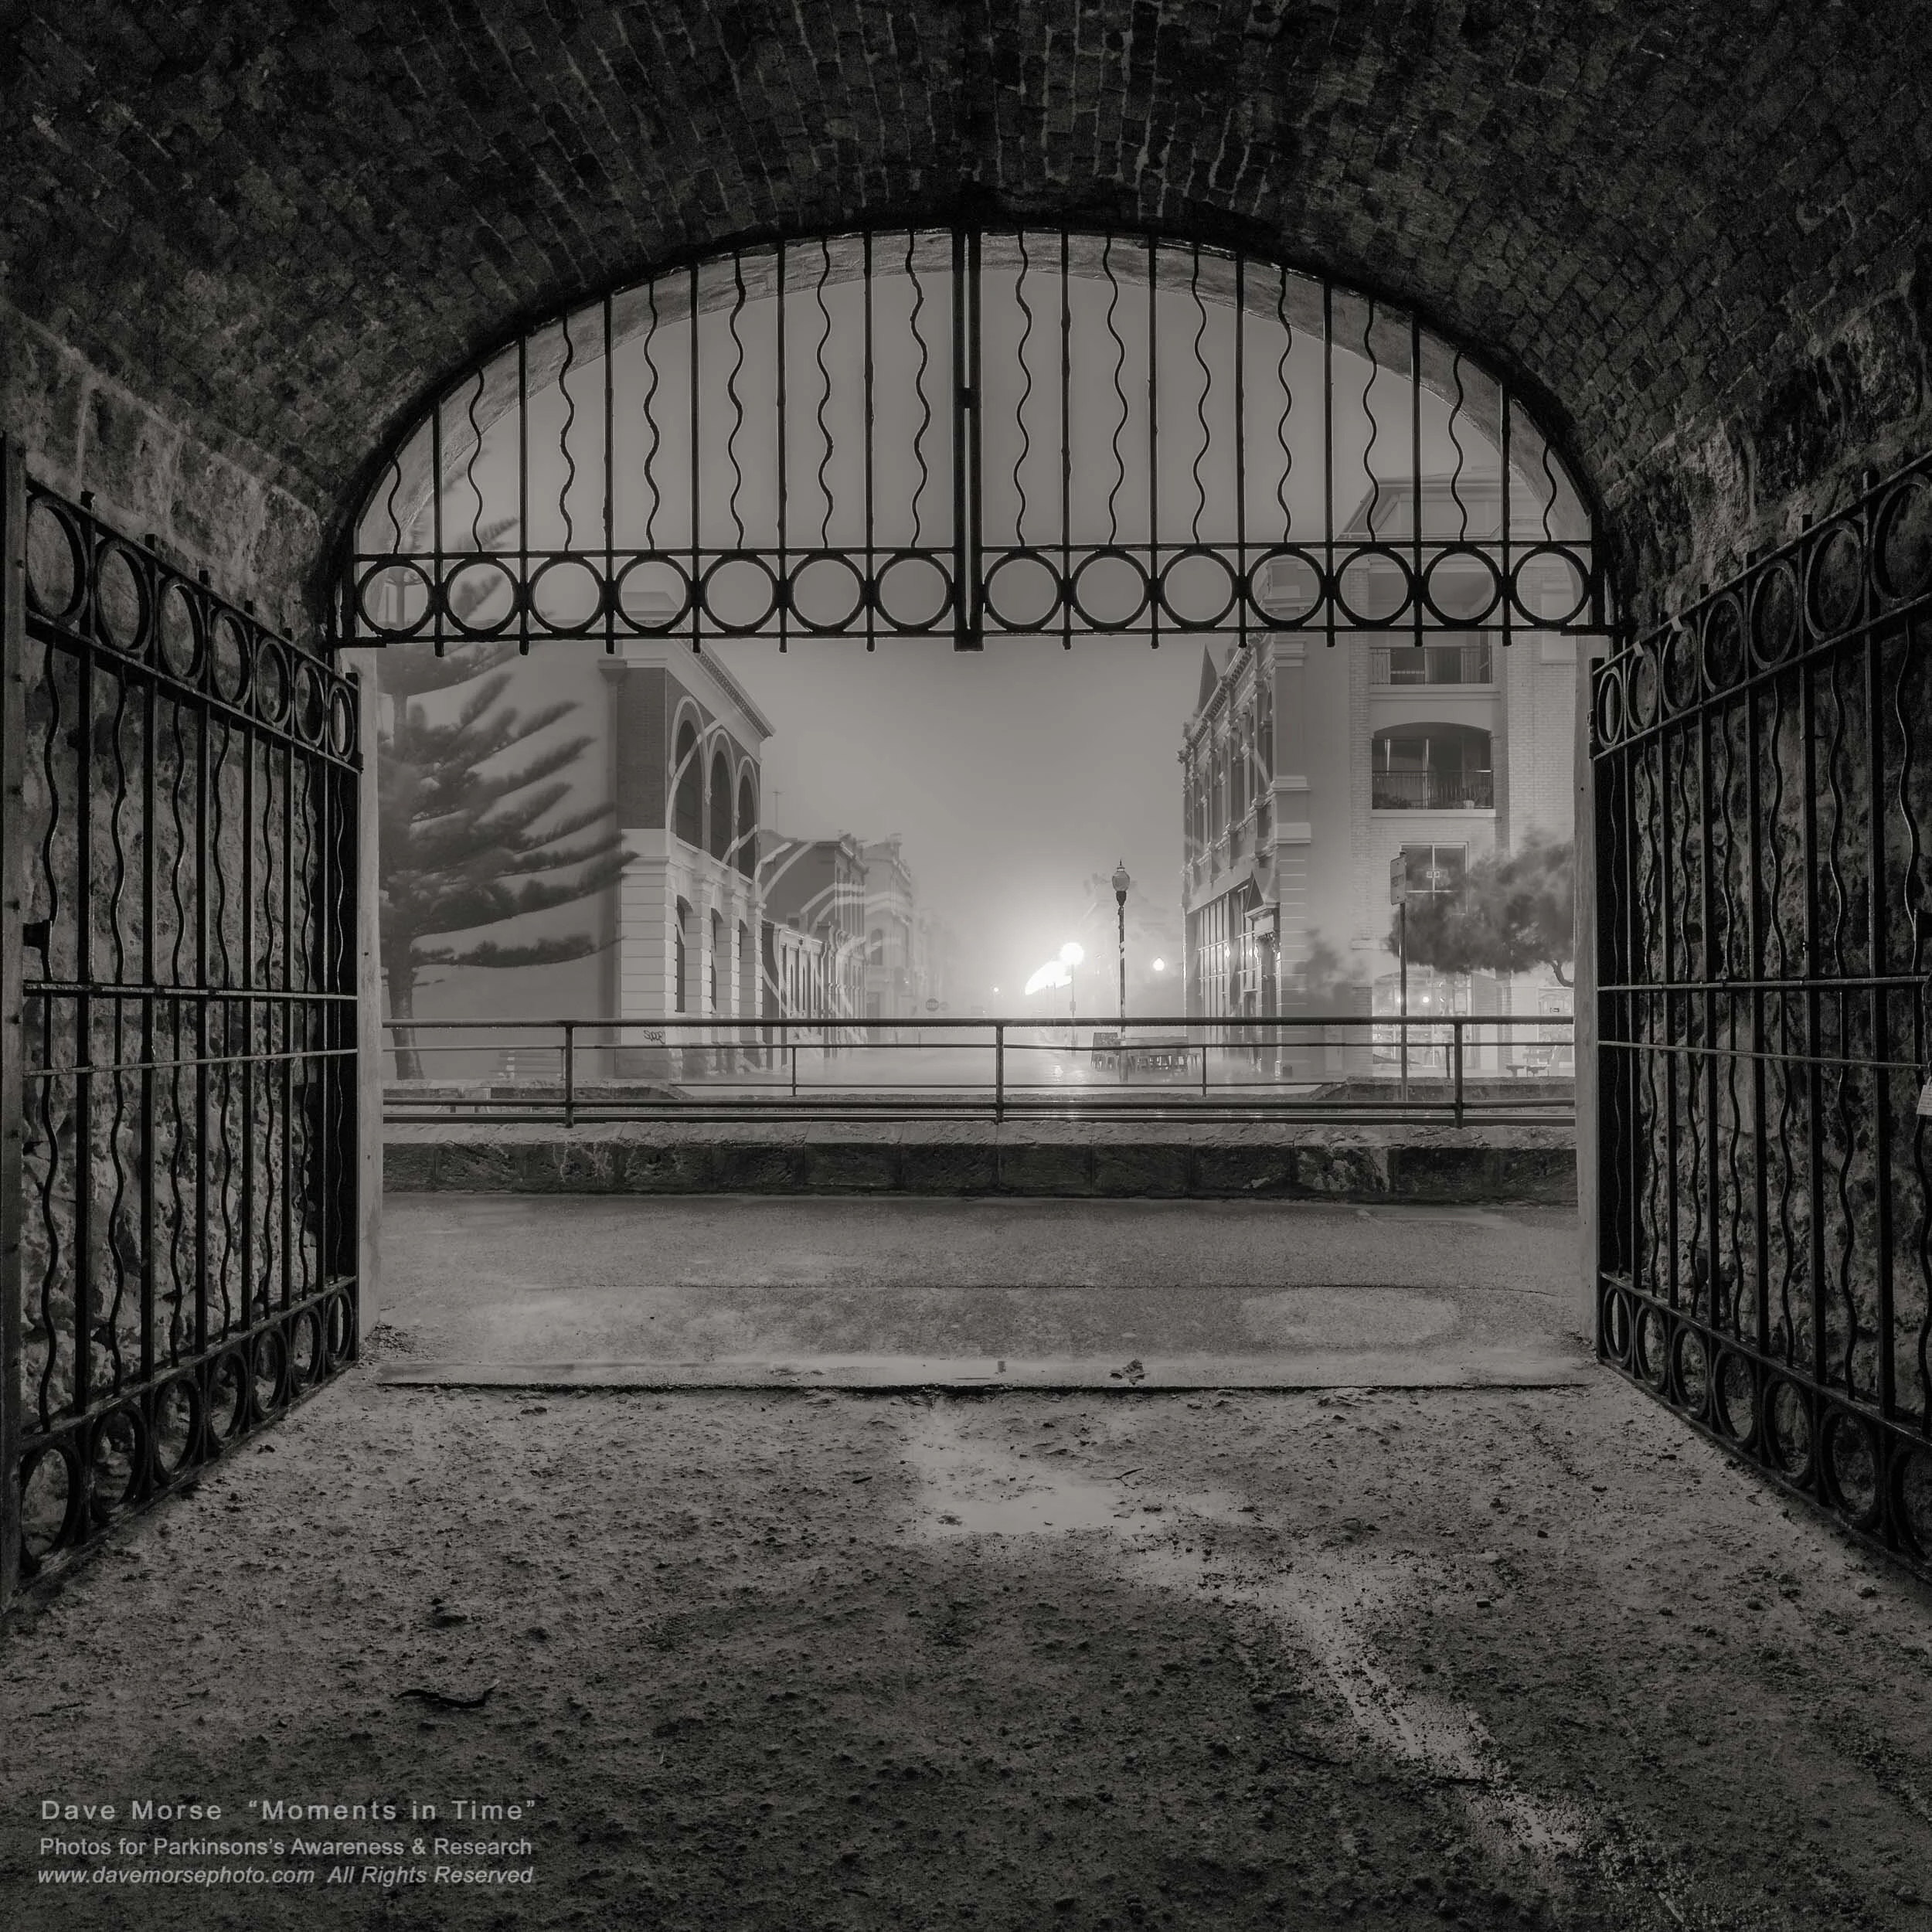
Image. F 5
Round House Gate one rainy misty morning.

Image. F 6
Colonial Buildings, Phillimore Street
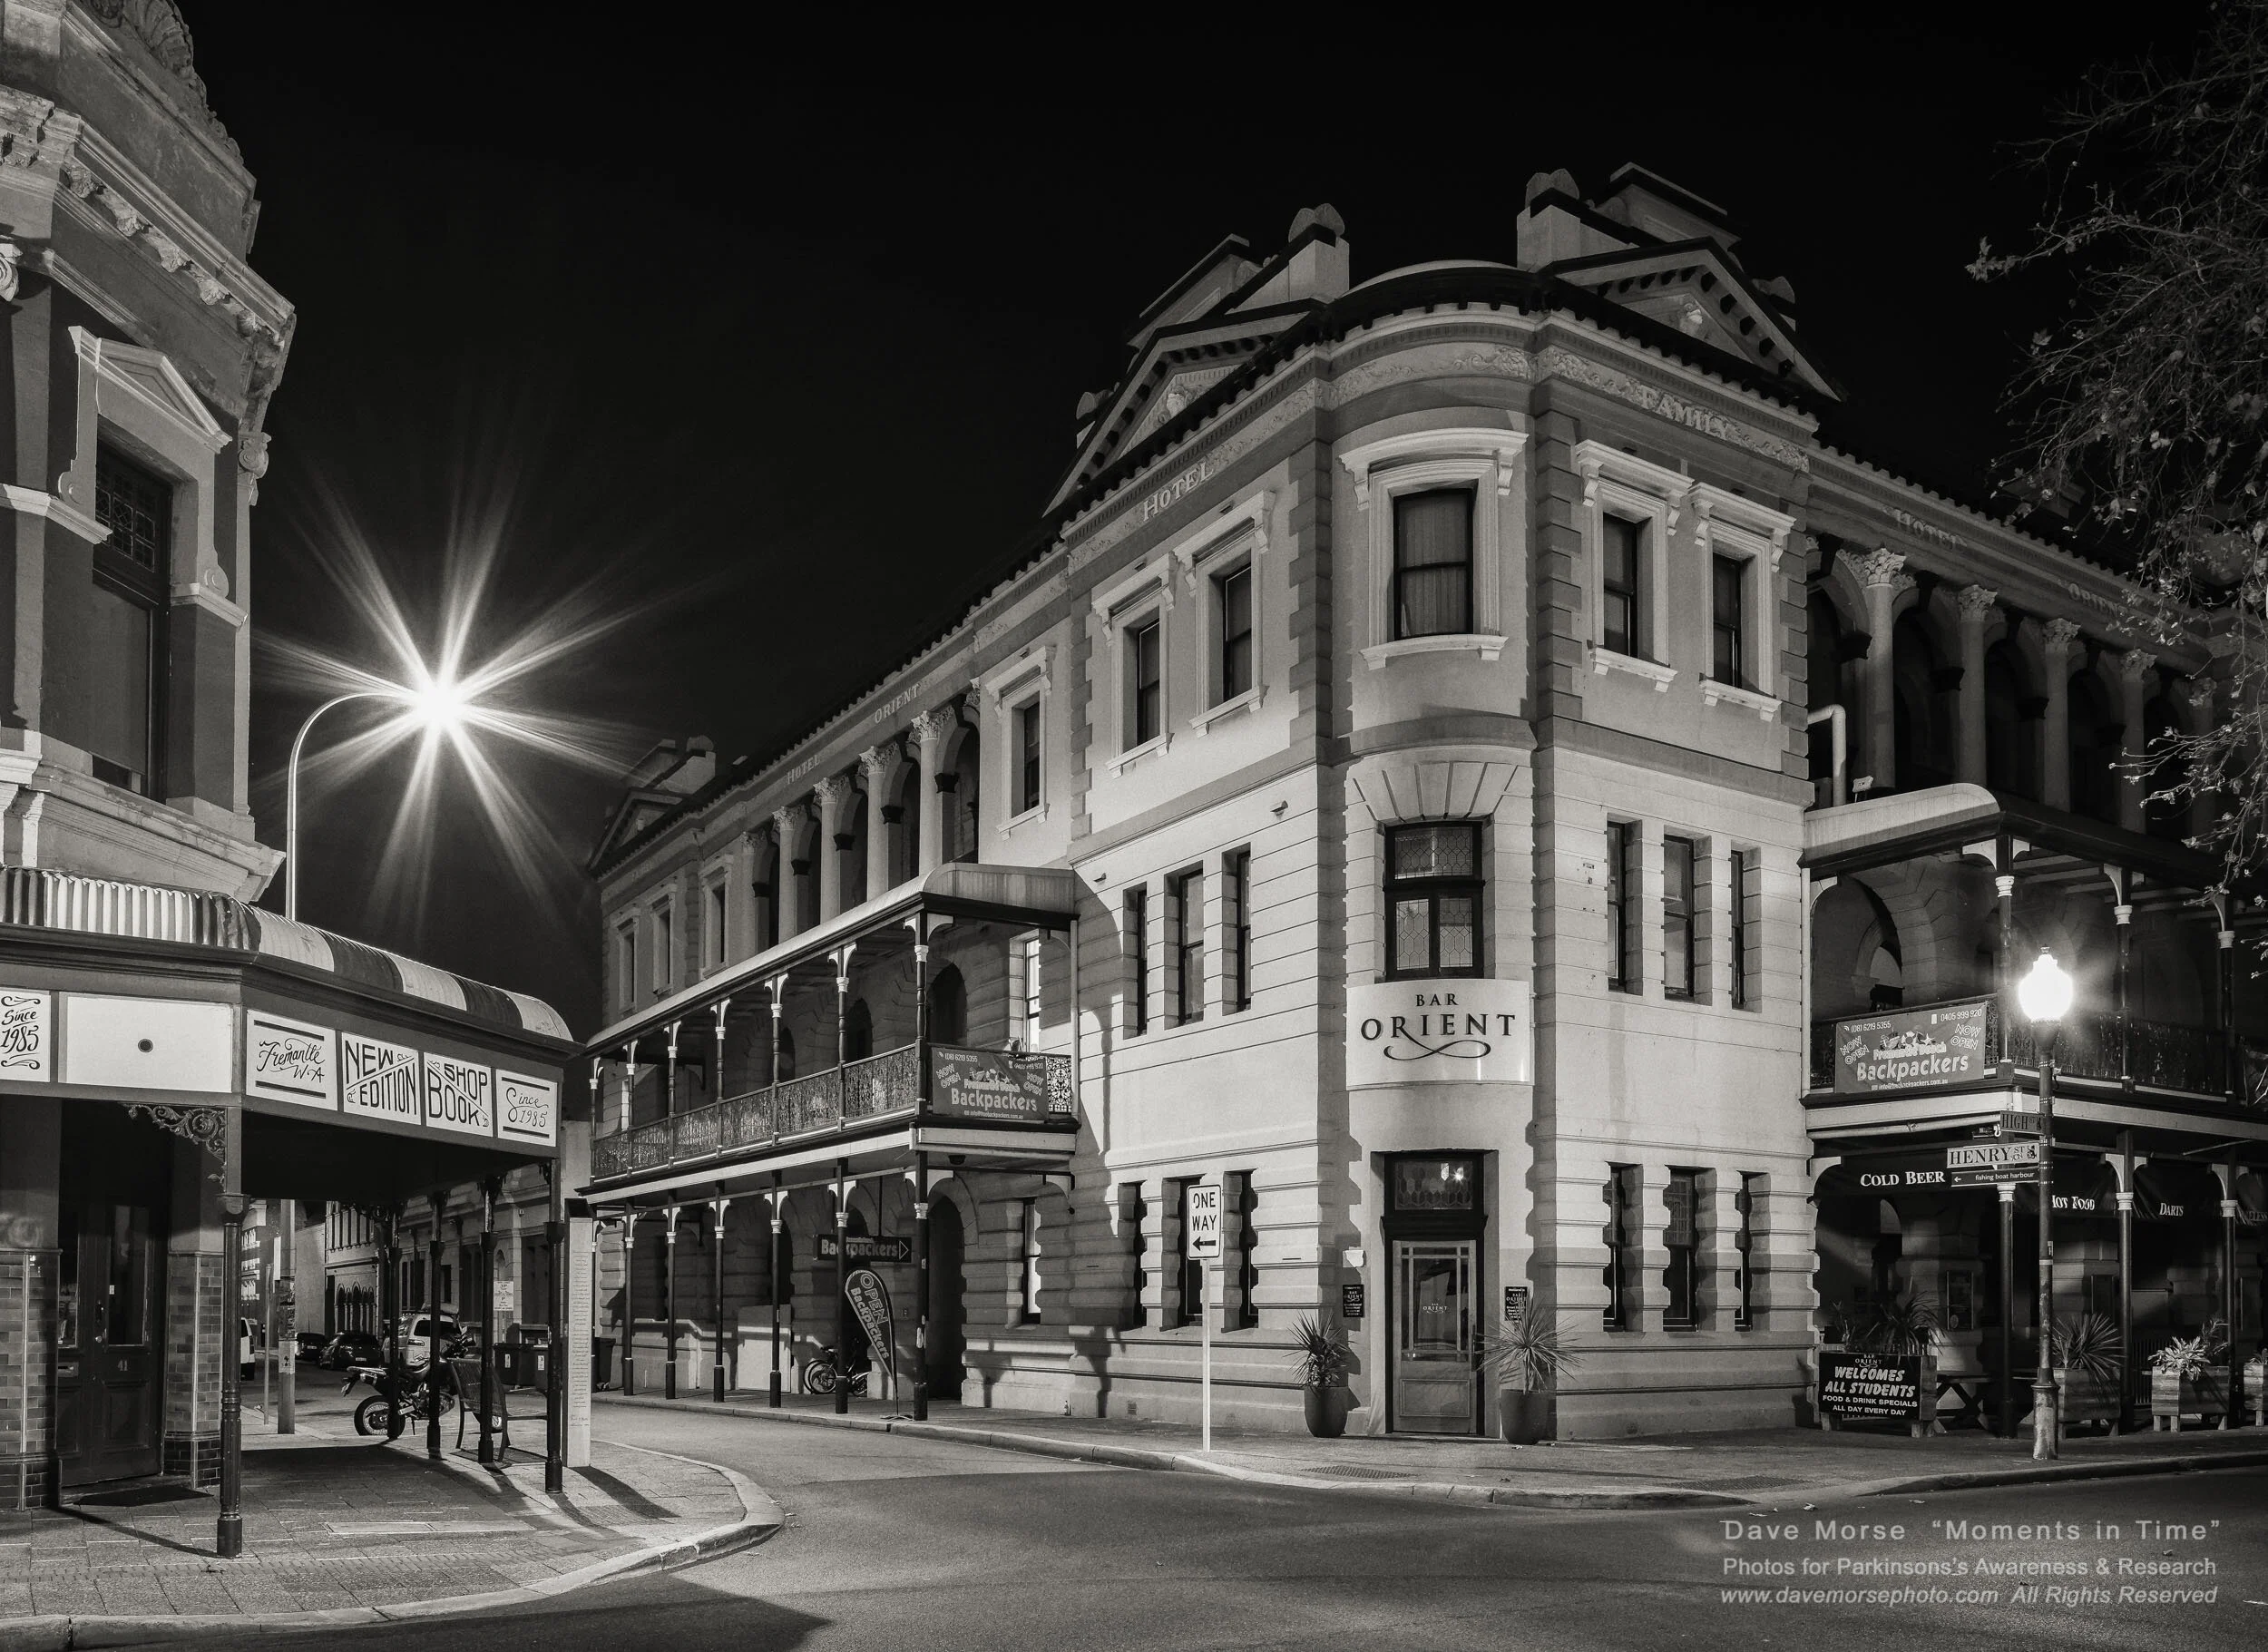
Image. F 7
Orient Hotel, corner of High and Henry Streets.
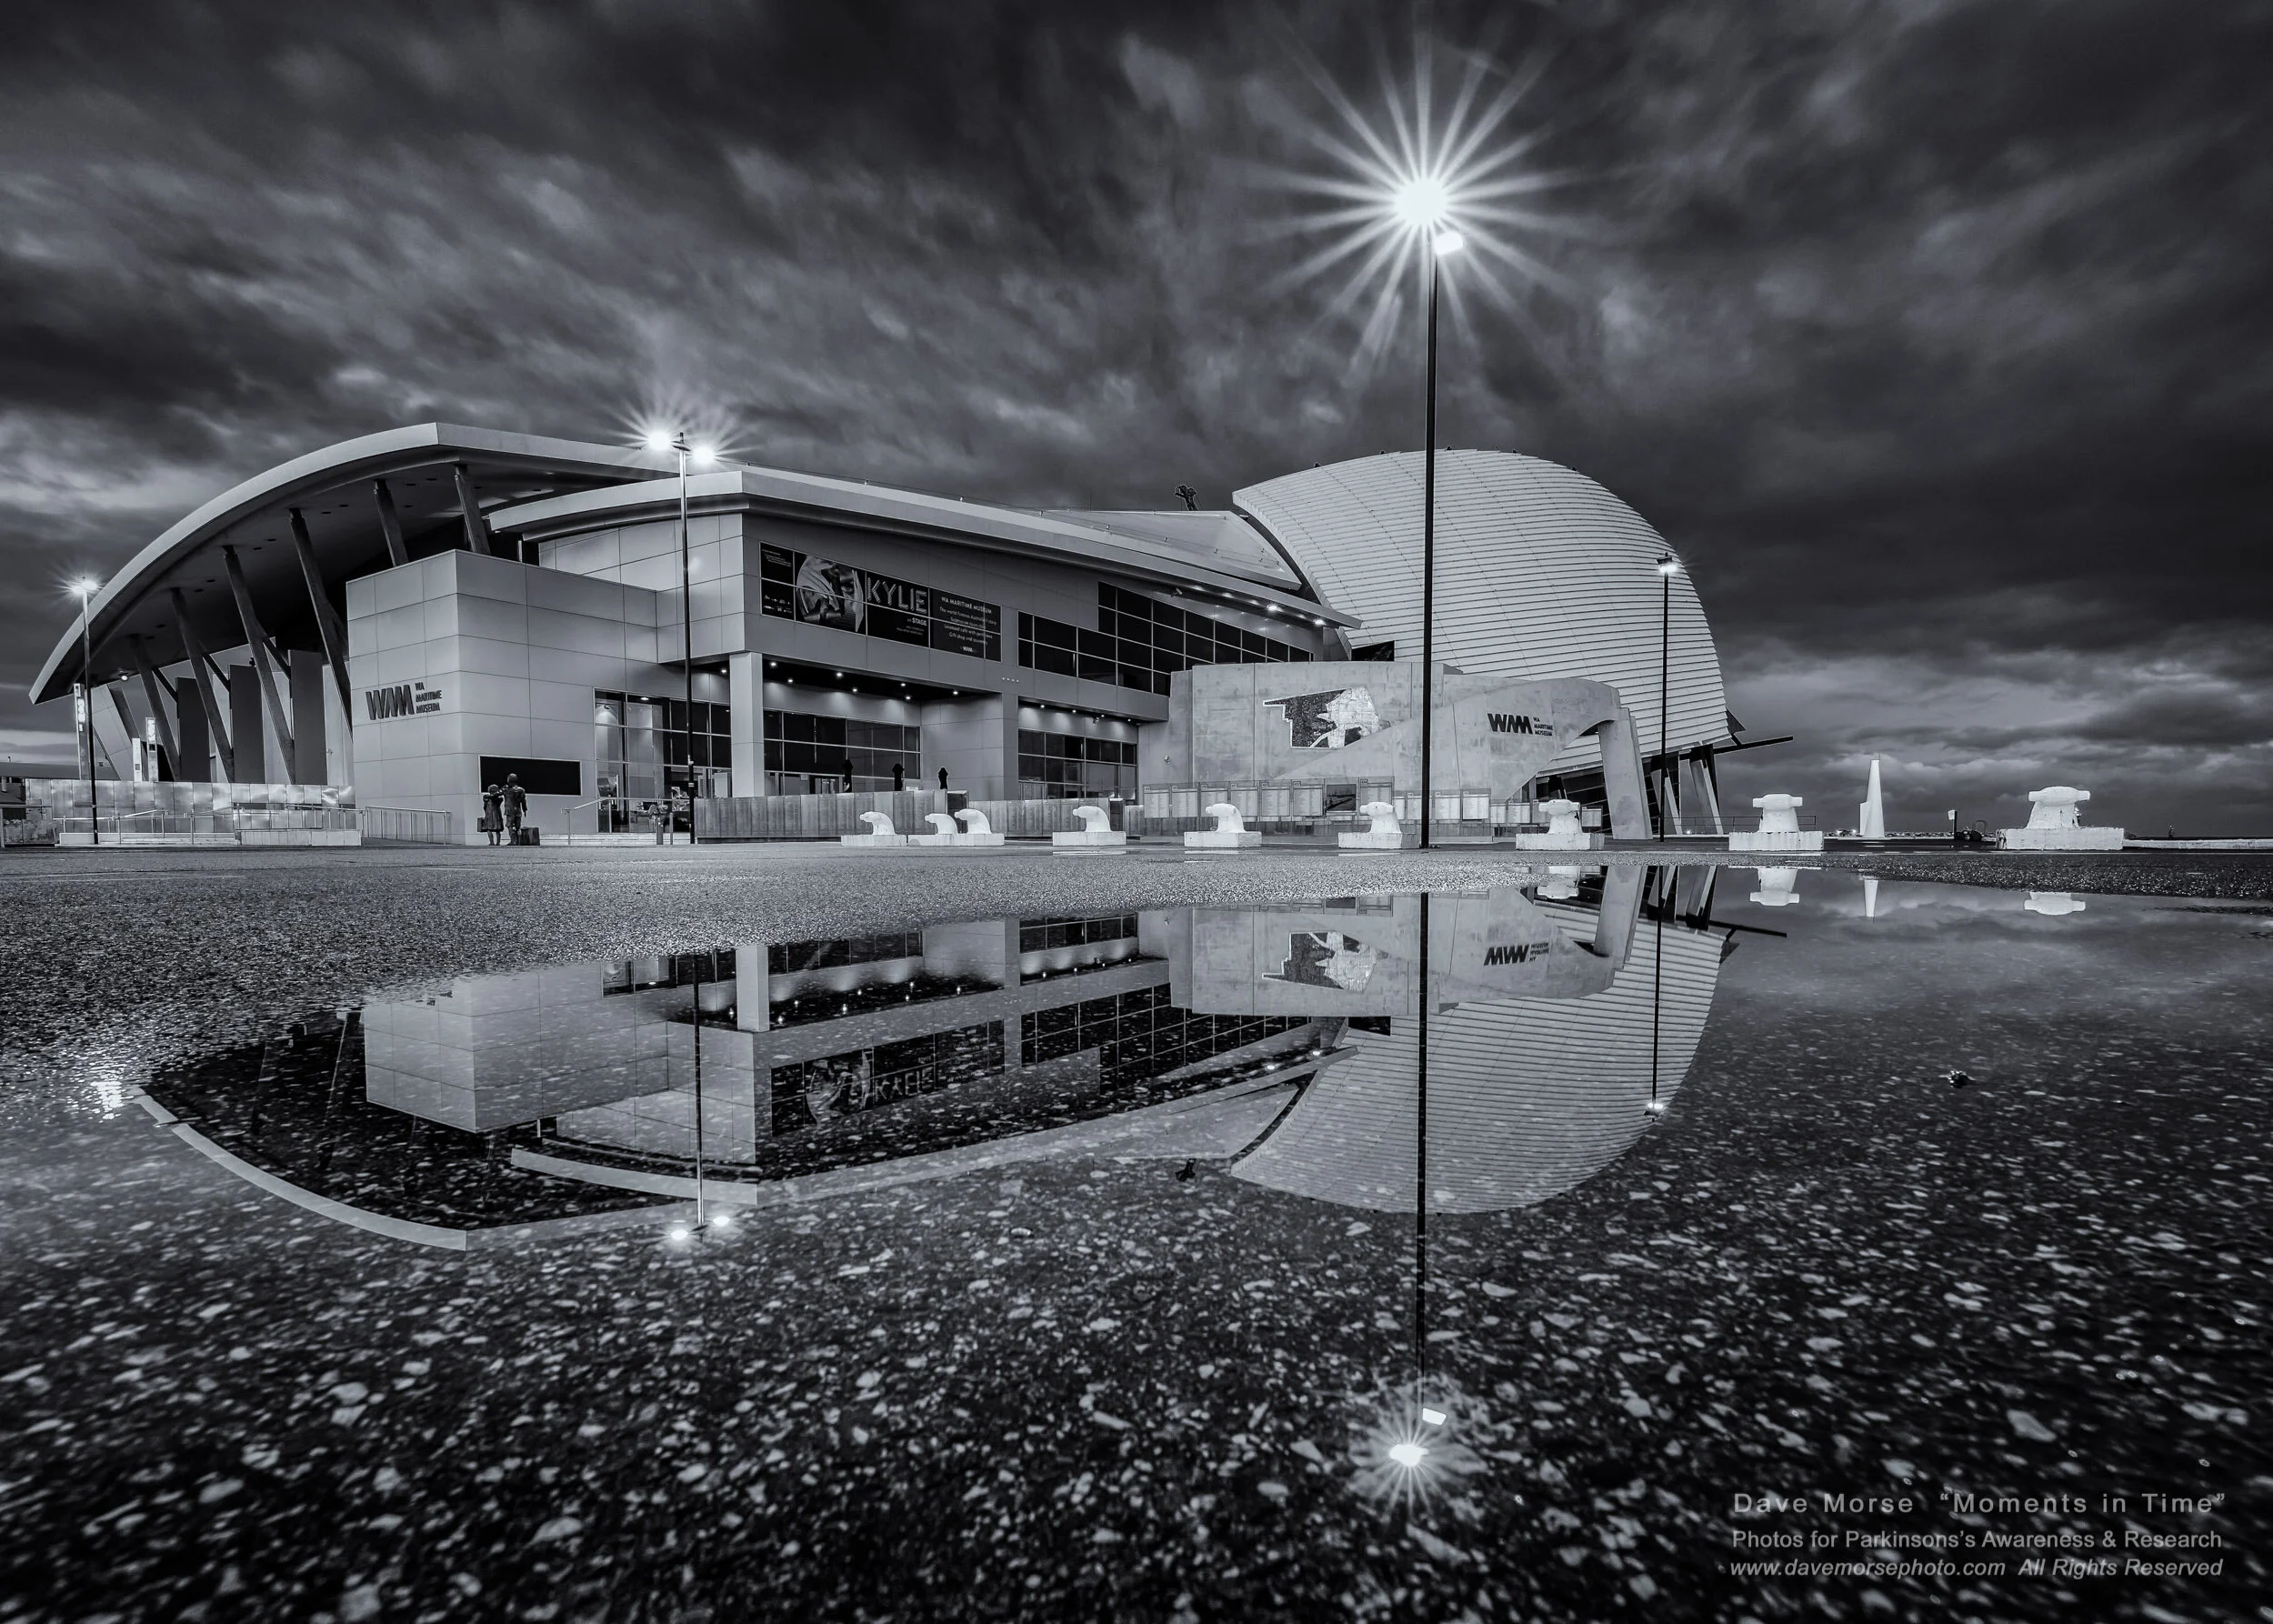
Image. F 8
Reflections of the new Maritime Museum.
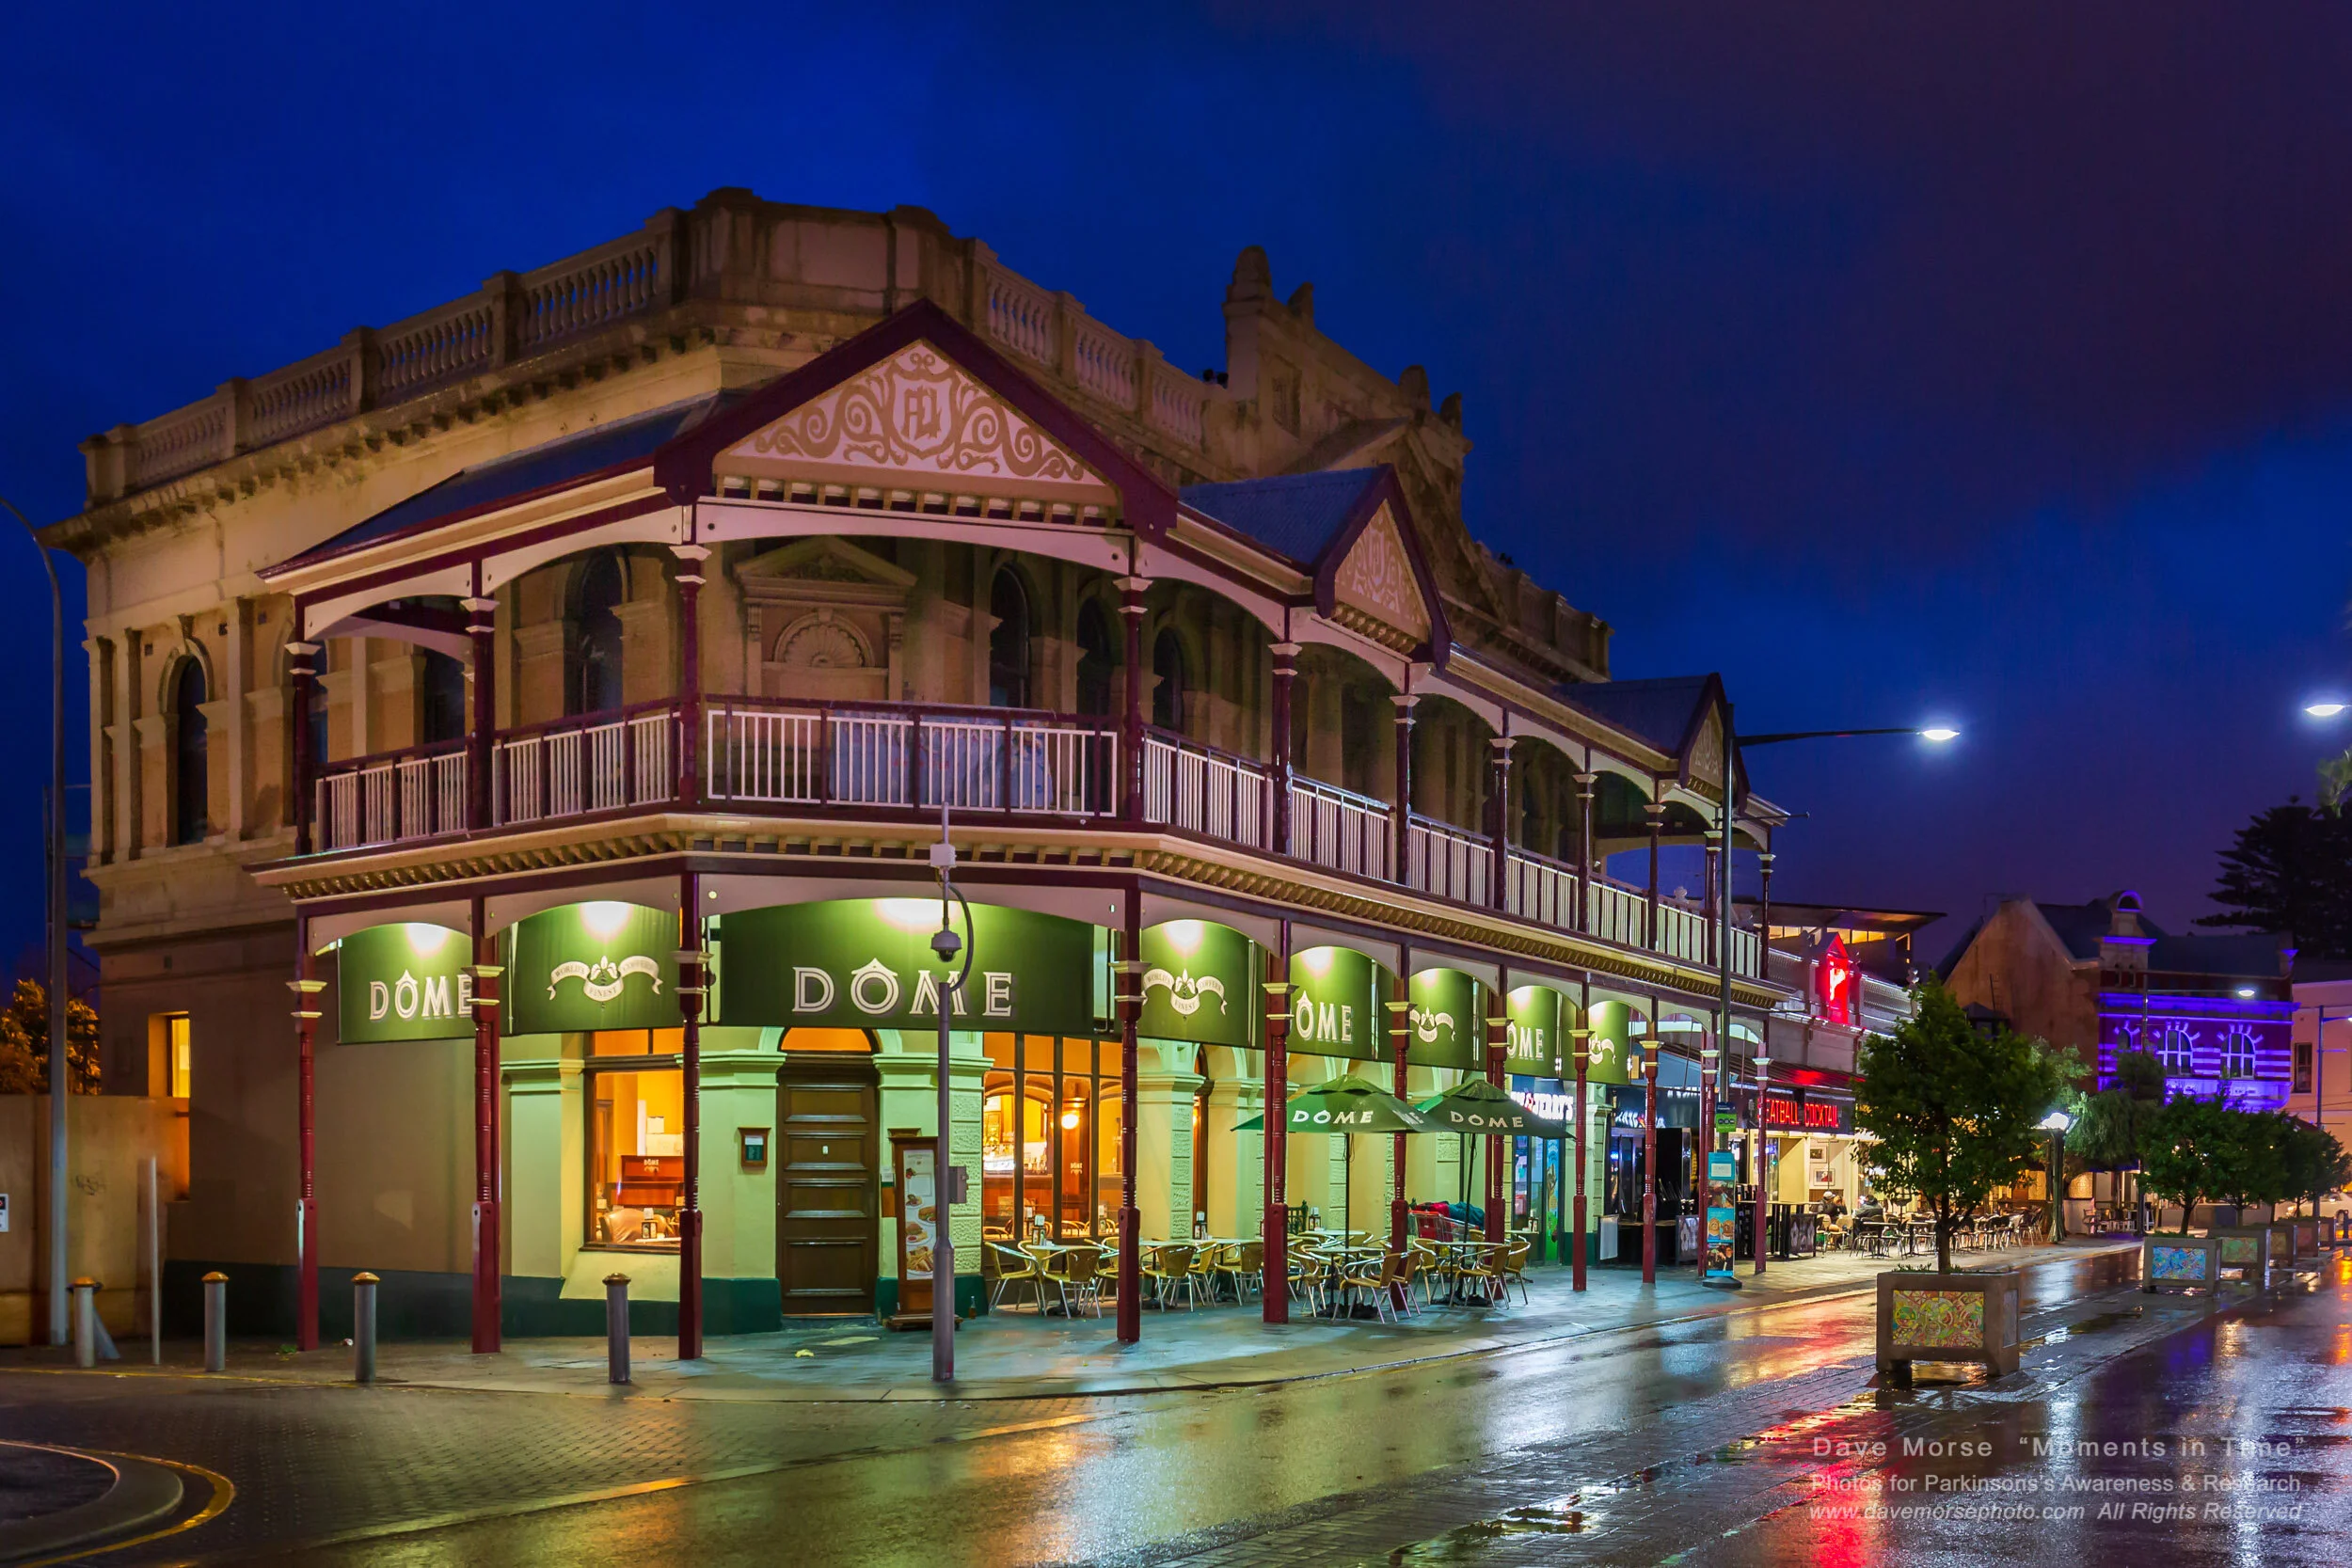
Image. F 9
Colonial buildings, South Tce.
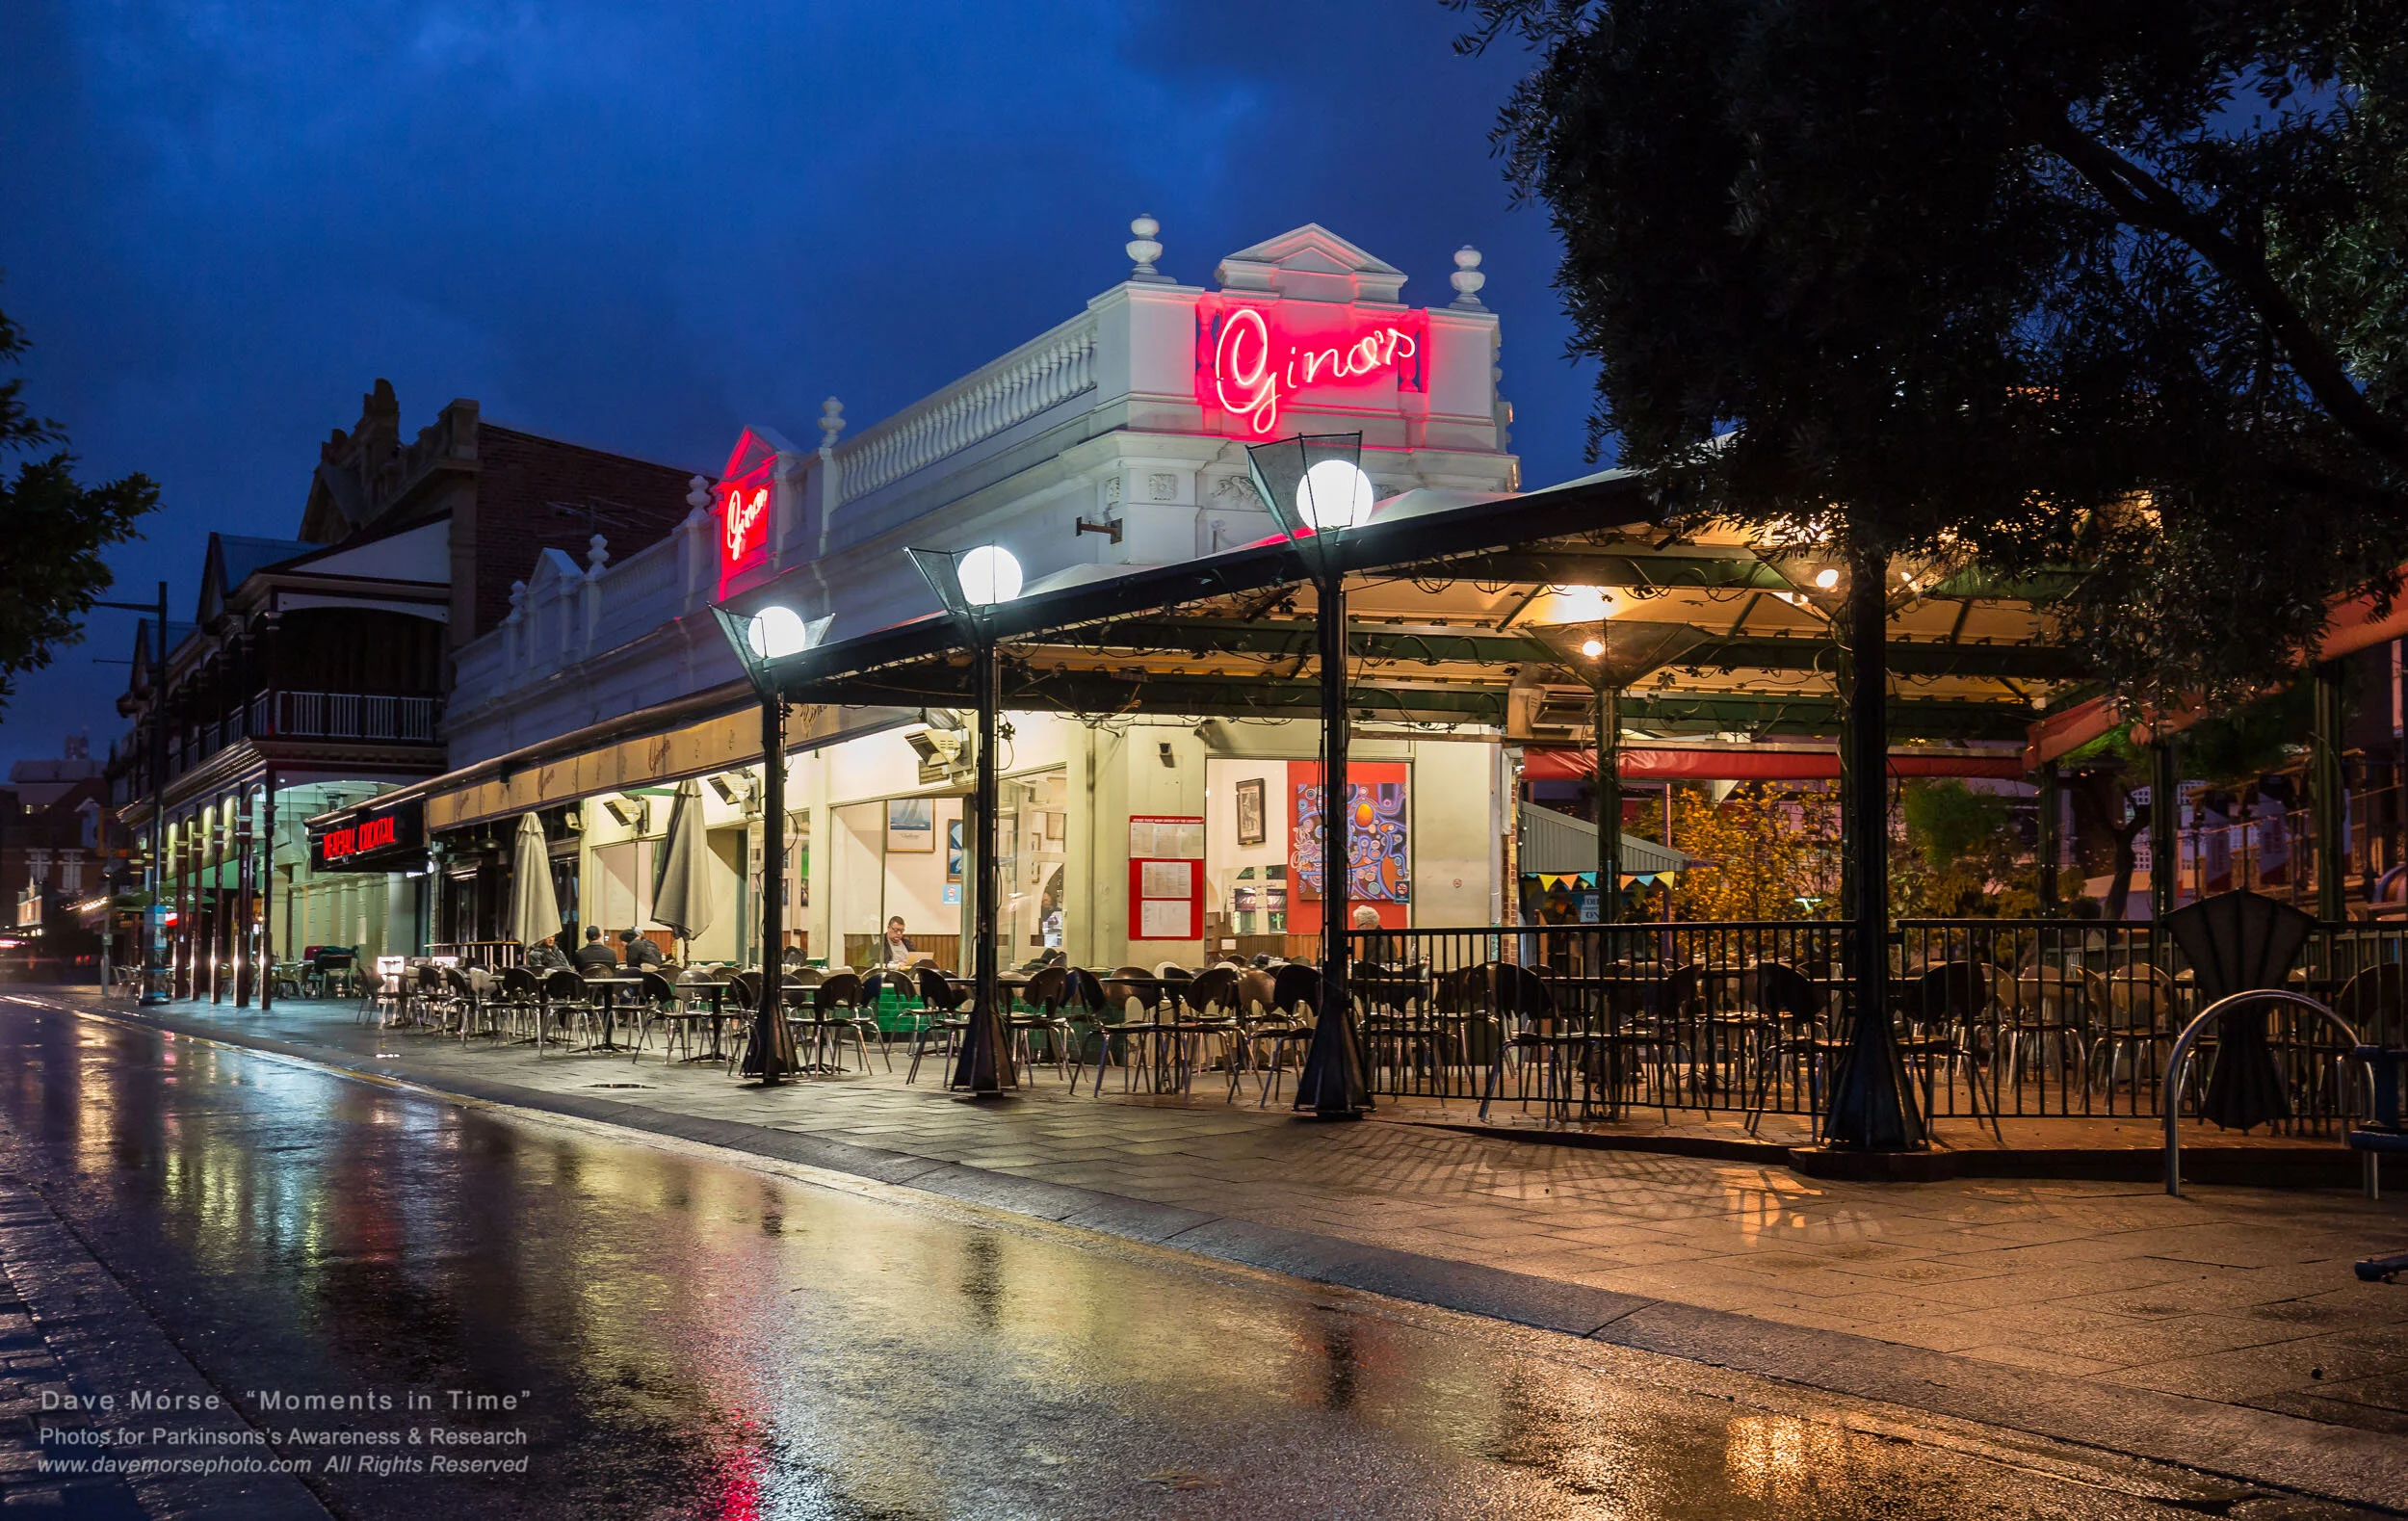
Image. F 10
Gino’s South Tce., one winter’s morning.
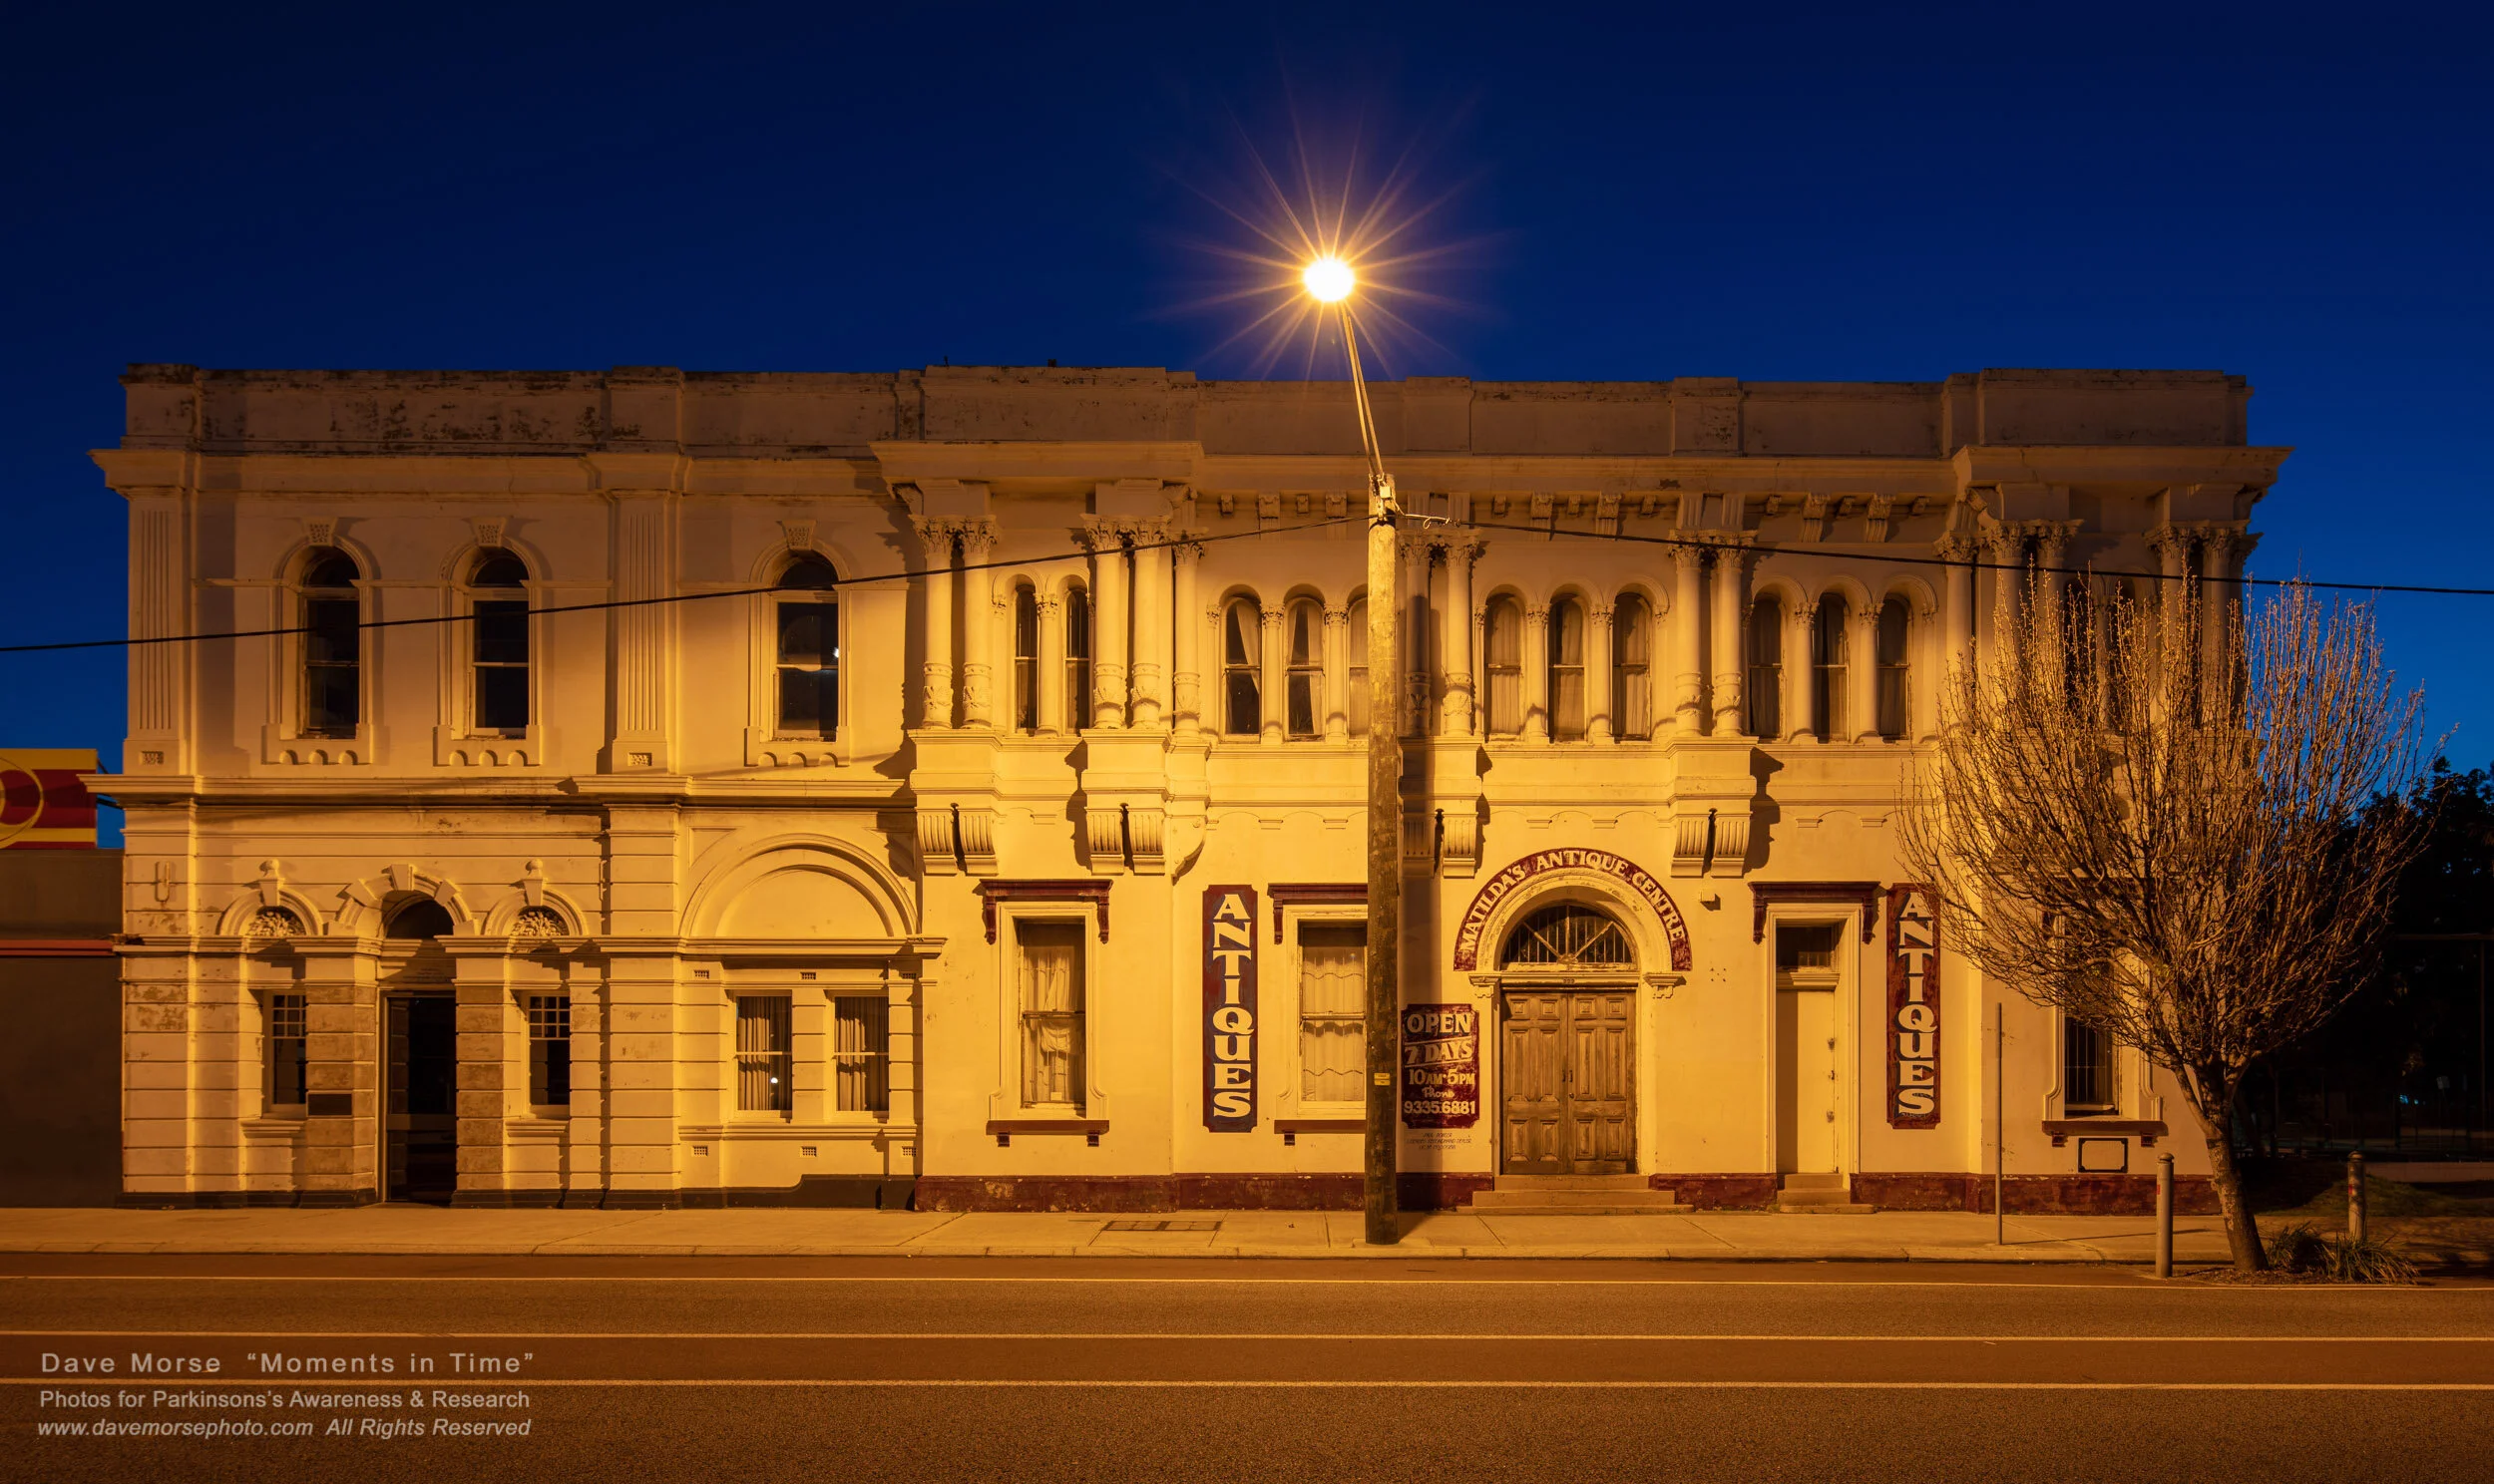
Image. F 11
Colonial building, Queen Victoria St., North Fremantle.
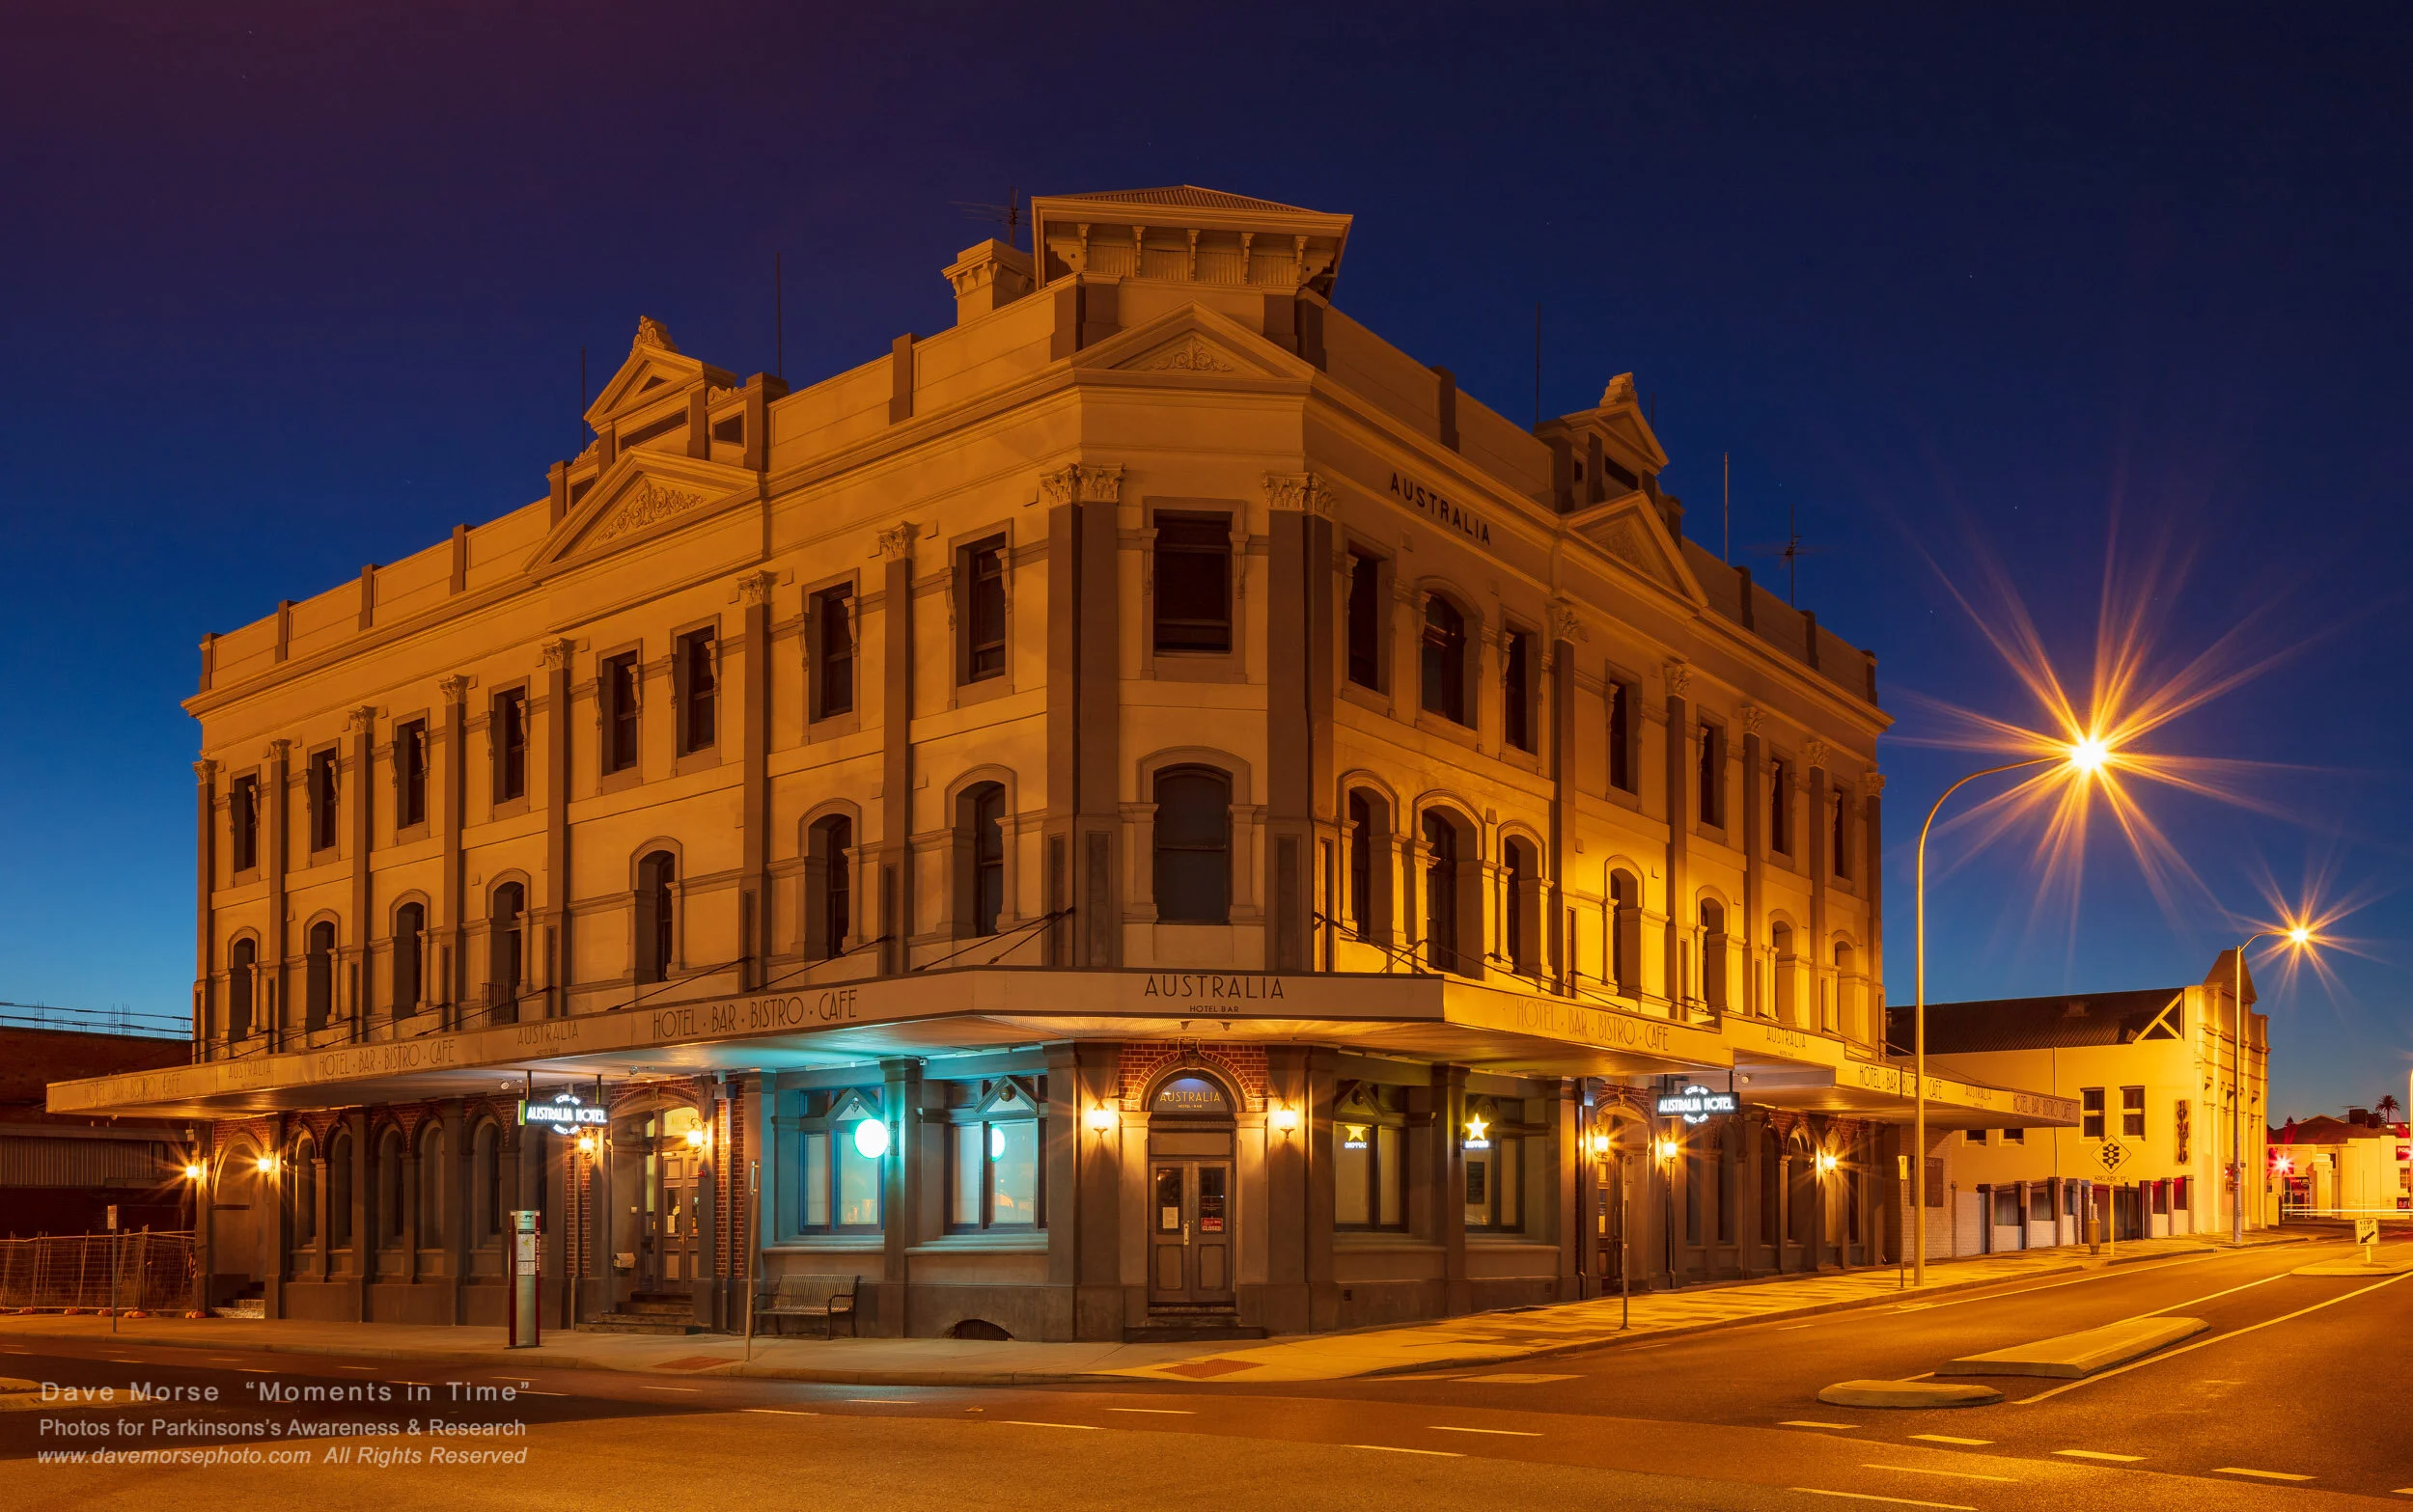
Image. F 12
The Australian Hotel.

Image. F 13
Dawn at Cicerello’s Fish Wharf.
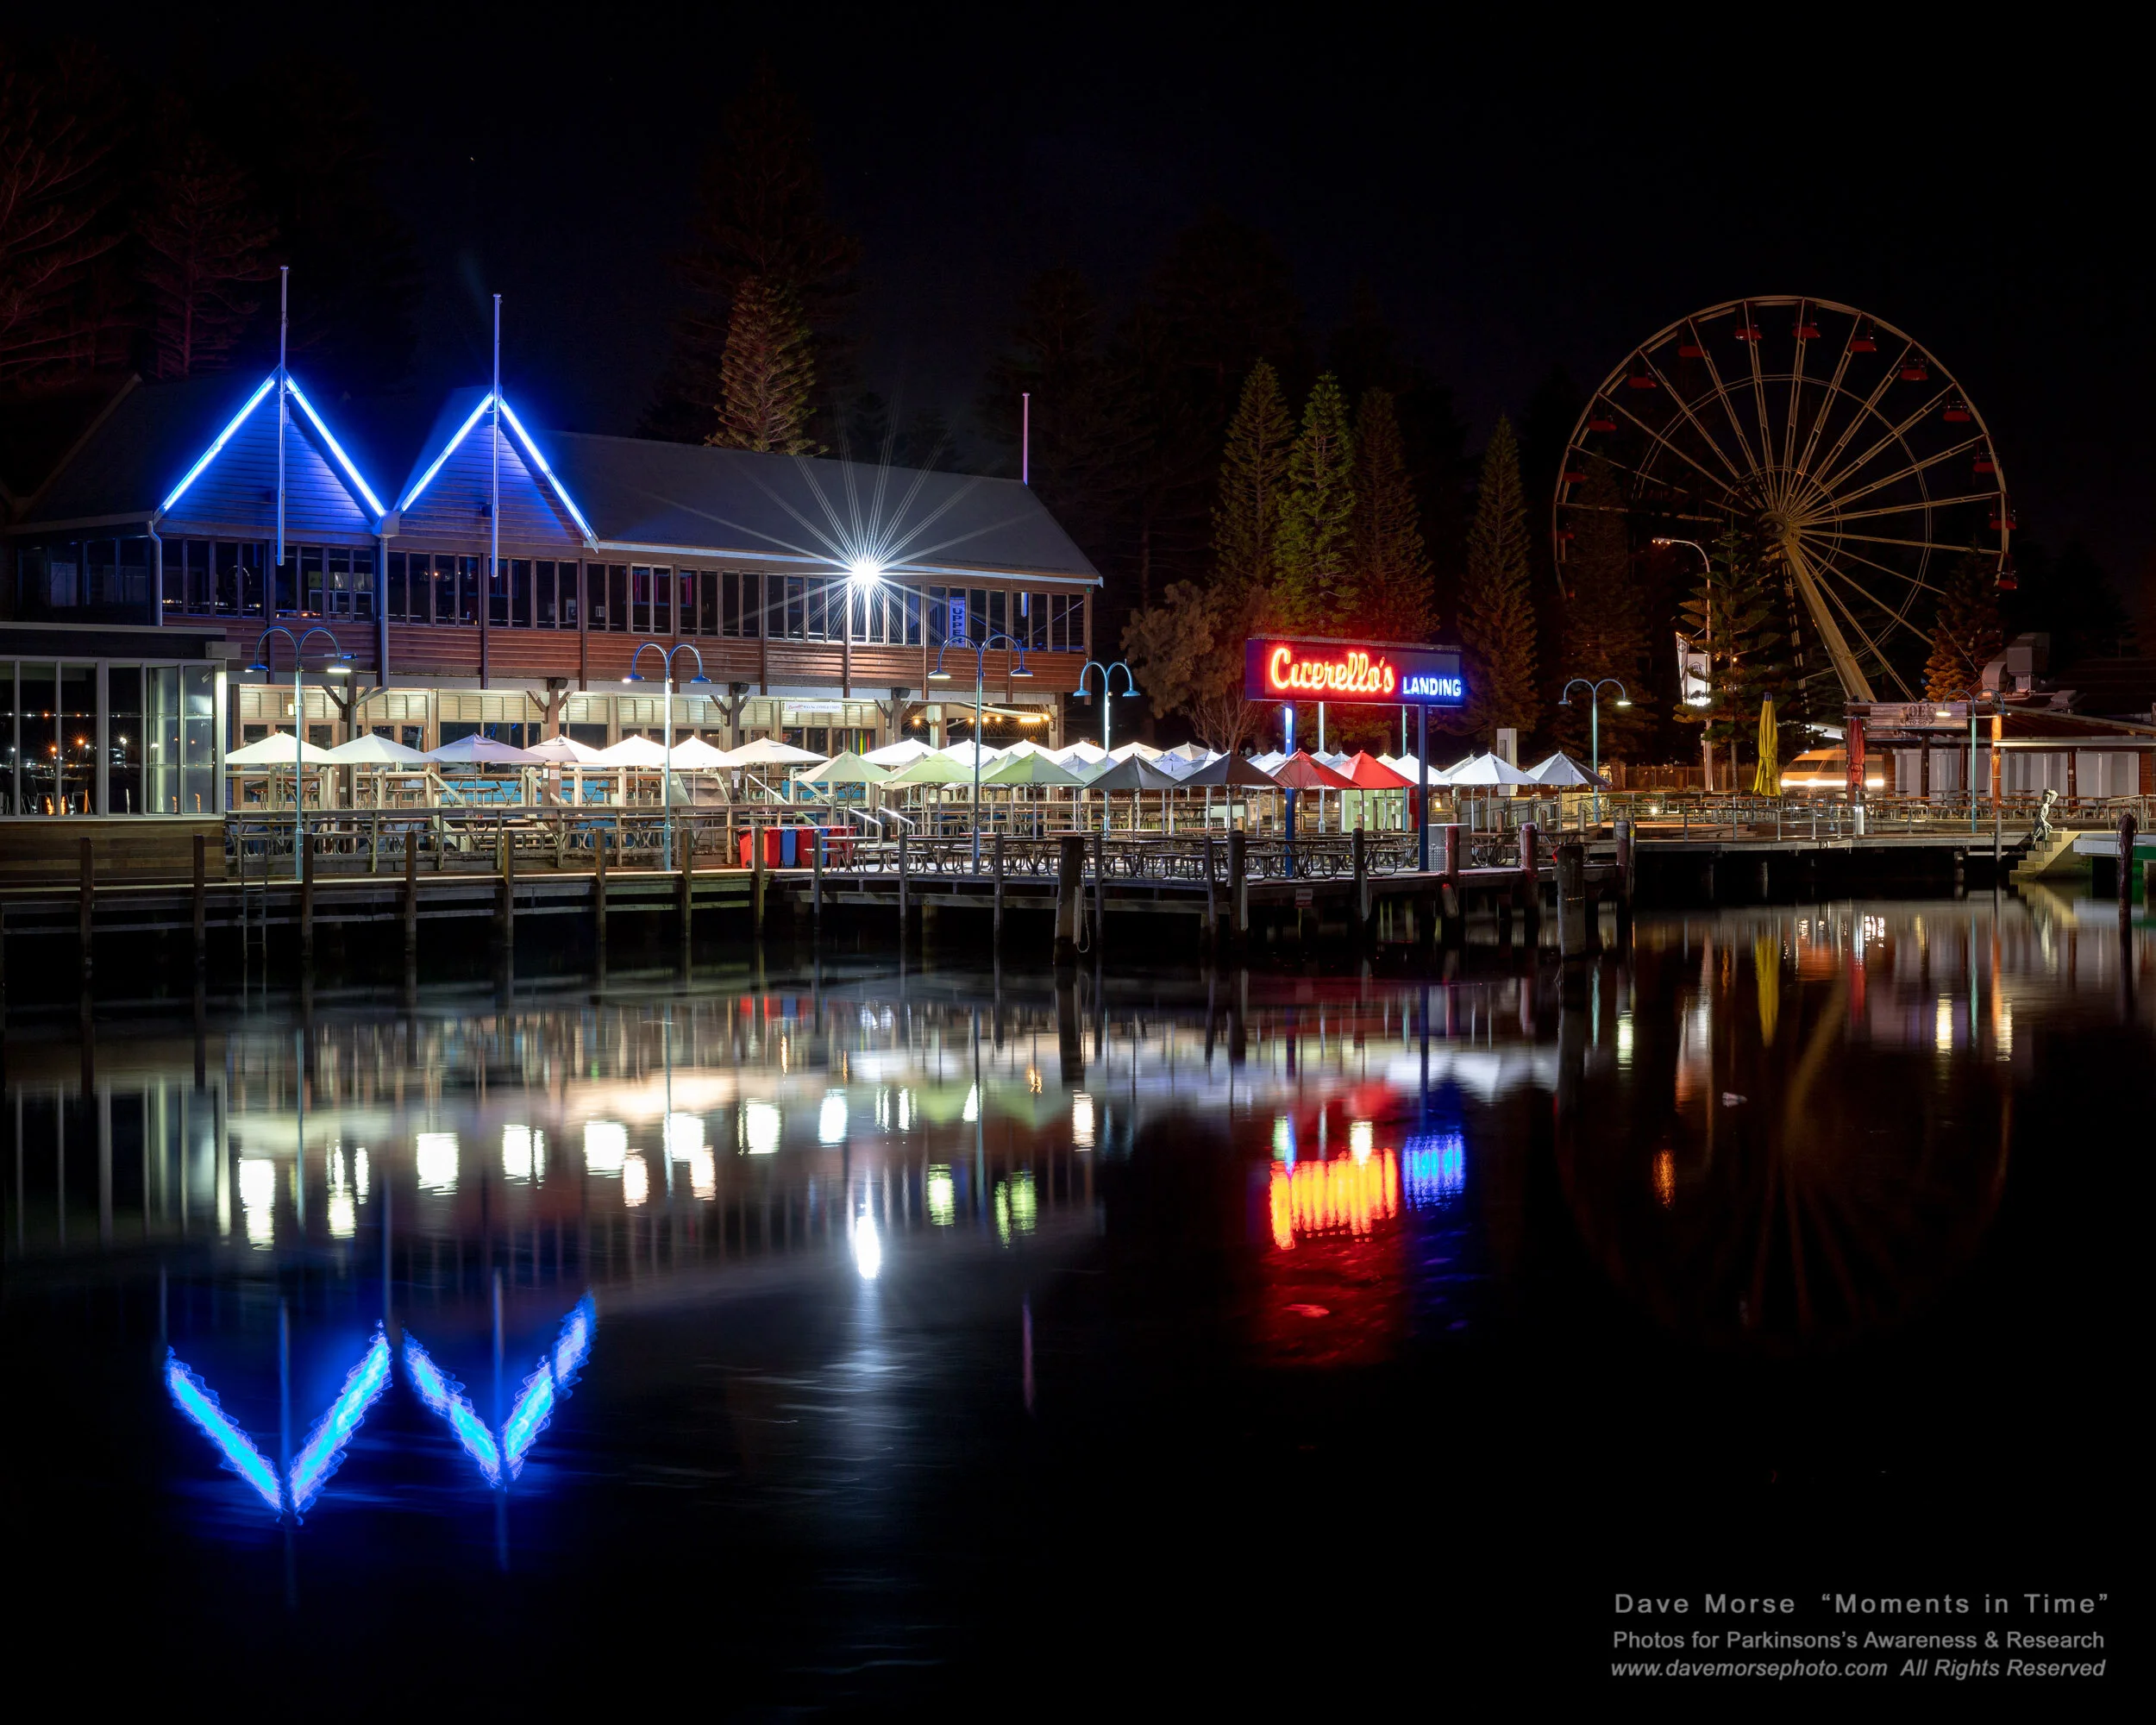
Image. F 14
Fisherman’s Wharf.

Image. F 15
Morning at the Fishing Wharf.

Image. F 16
Trawler Reflections.

Image. F 17
Still morning at Fisherman’s Wharf.

Image. F 18
Morning Panorama of Fisherman’s Wharf.

Image. F 19
Panorama of Fisherman’s Wharf.

Image F 20
Lights of Fremantle Harbour from Cantonment Hill.

Image. F 21
Early morning “Queen Mary” from Parry Street.
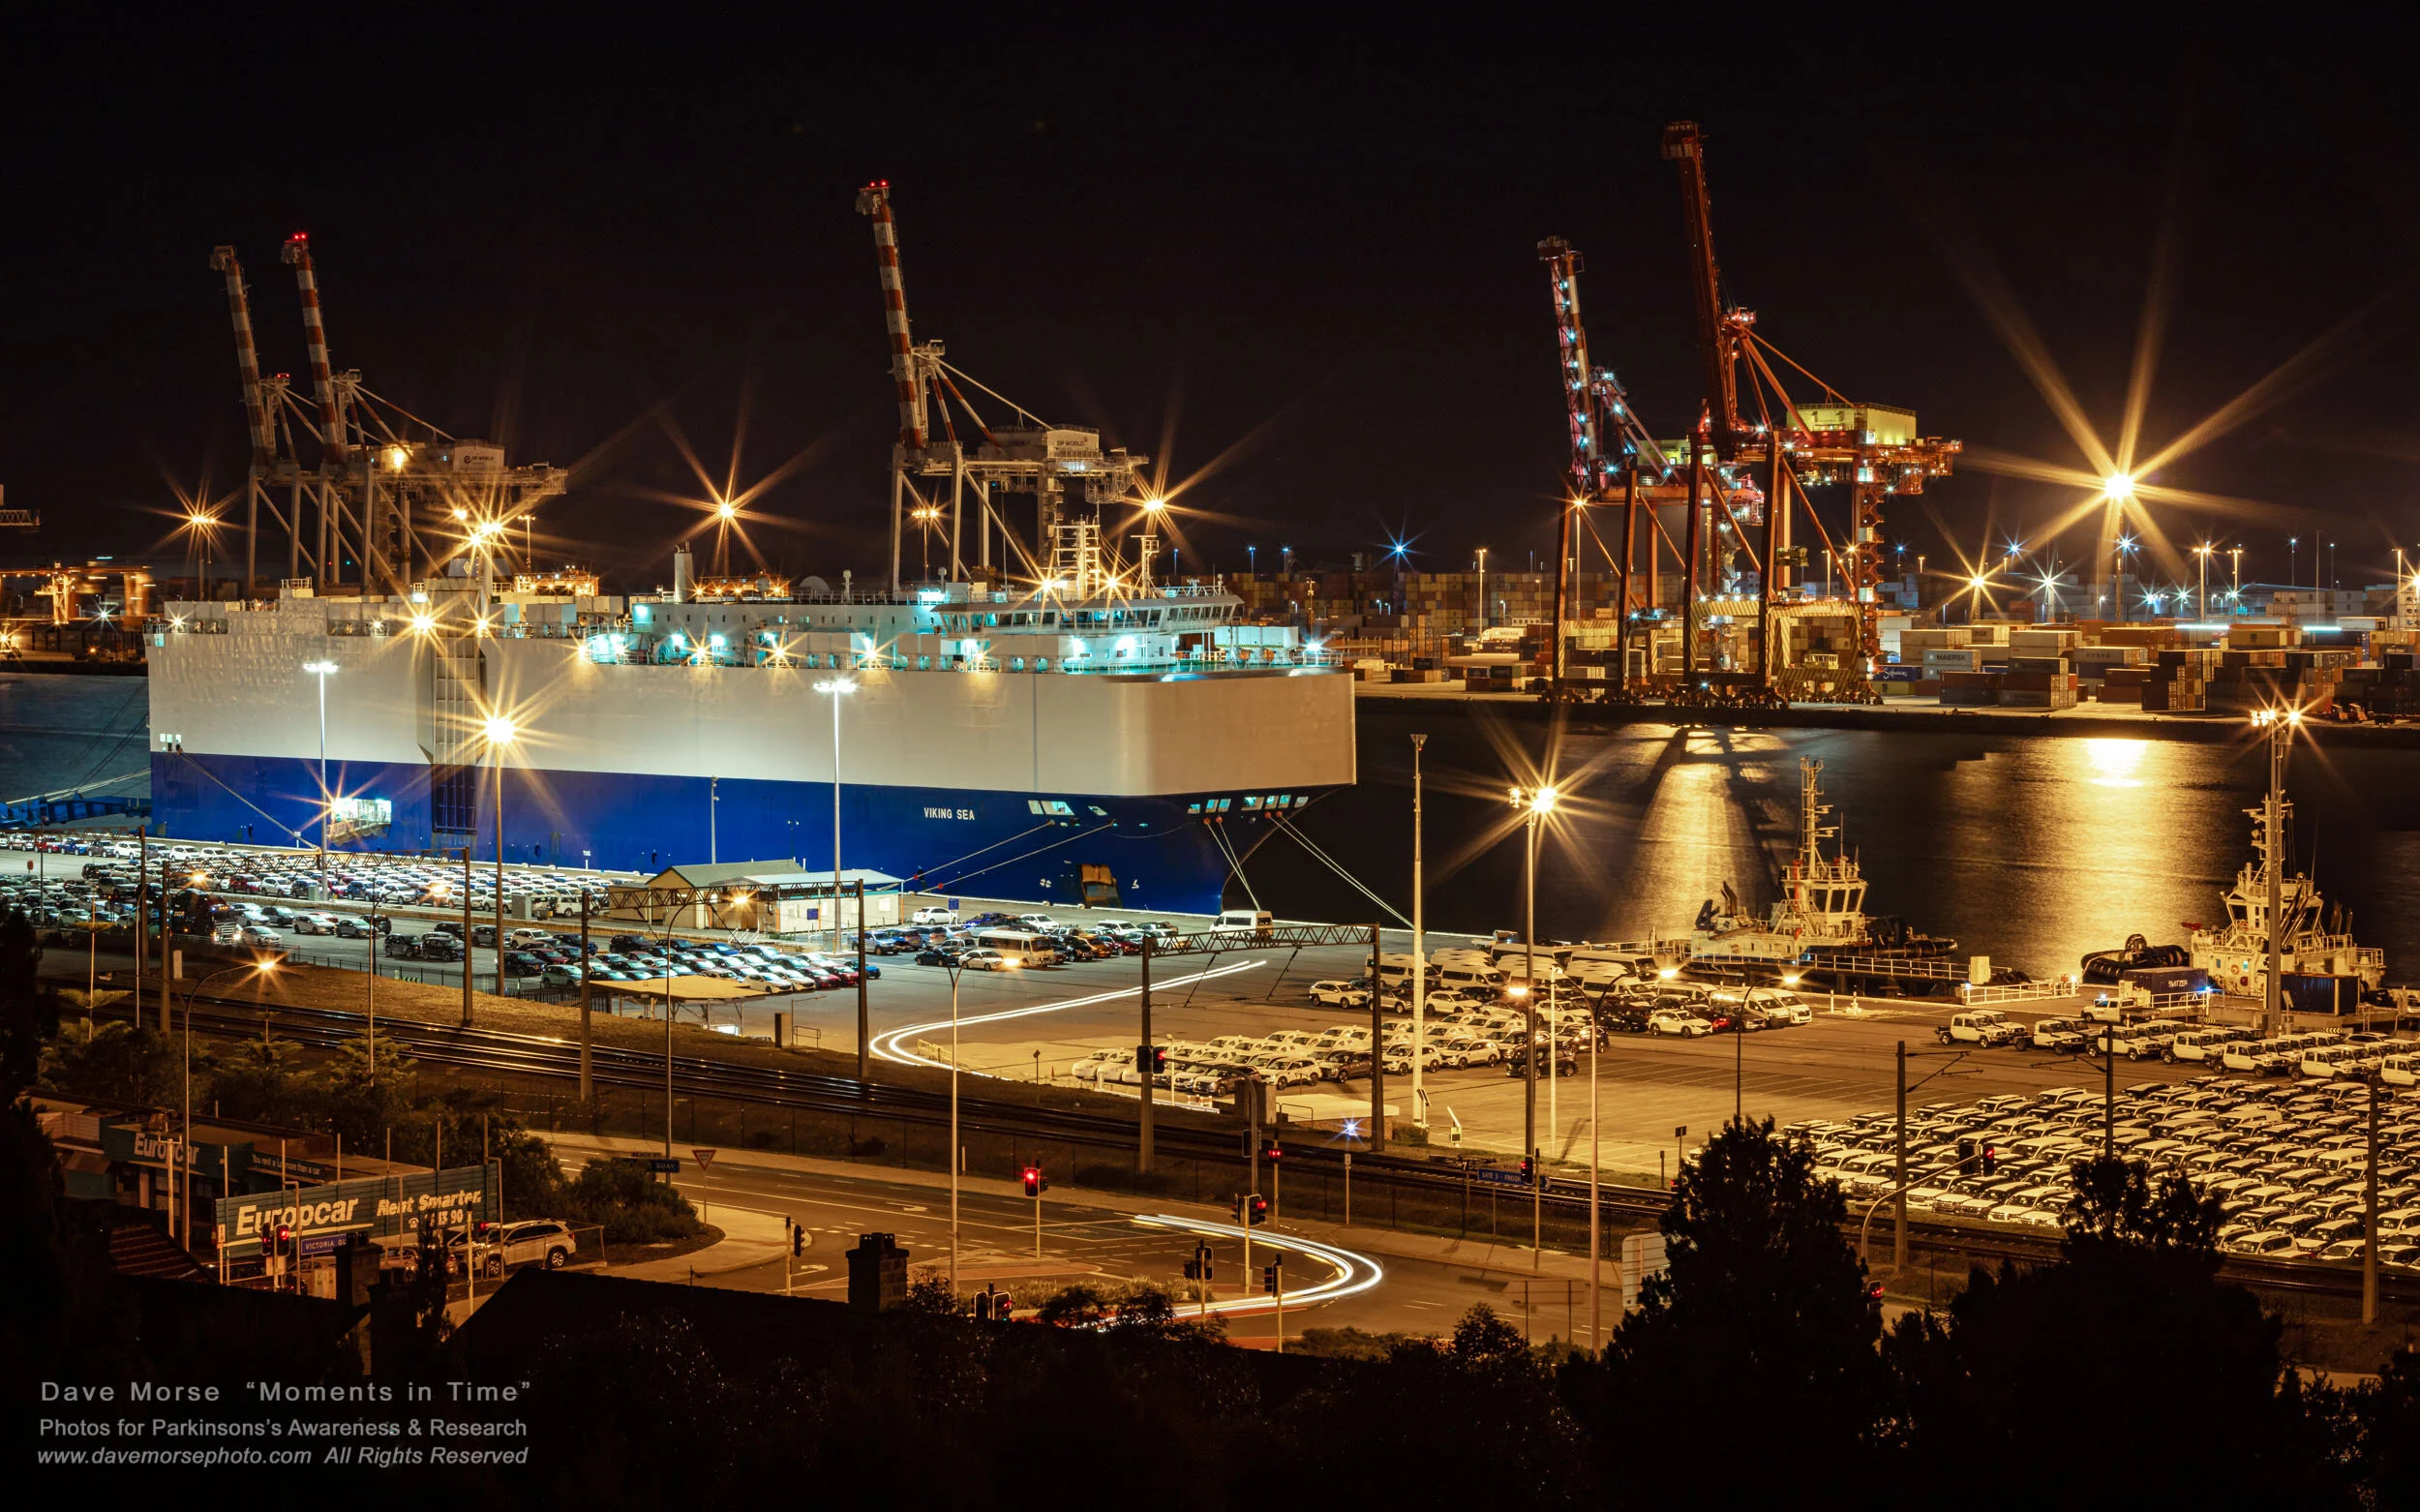
Image. F 22
Car carrier.
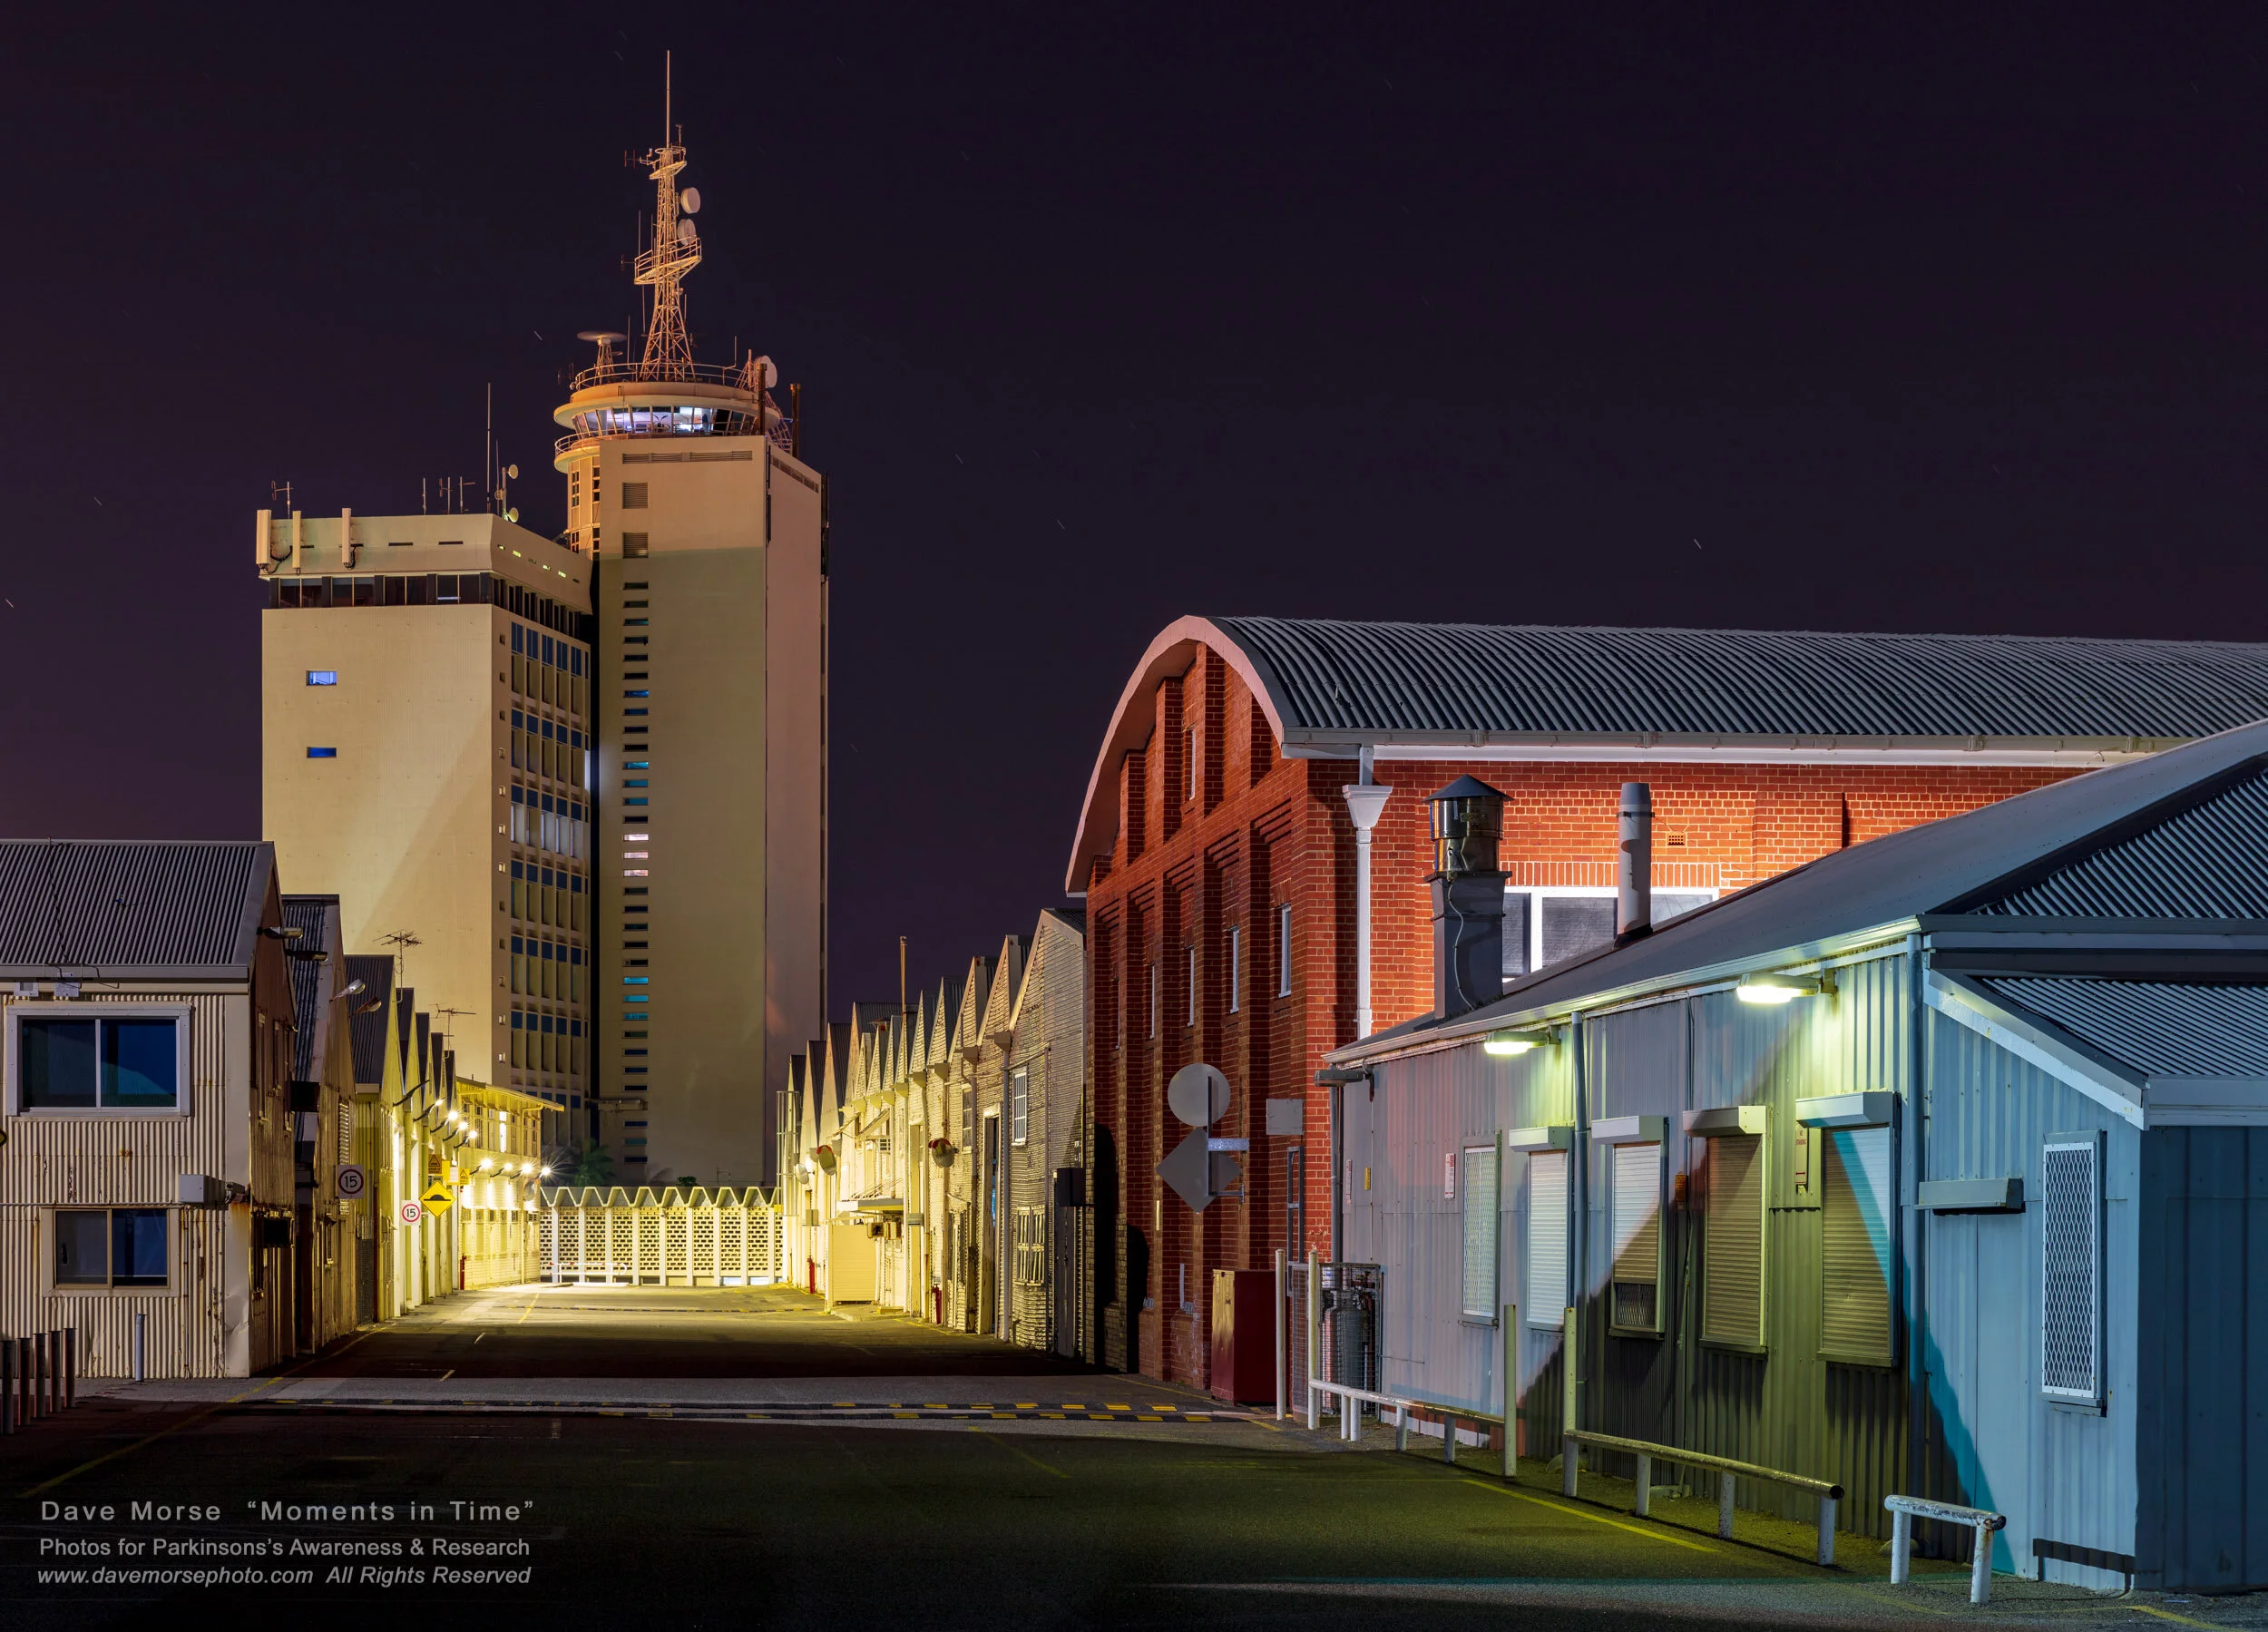
Image. F 23
Fremantle Port Authority building from Fleet Street.
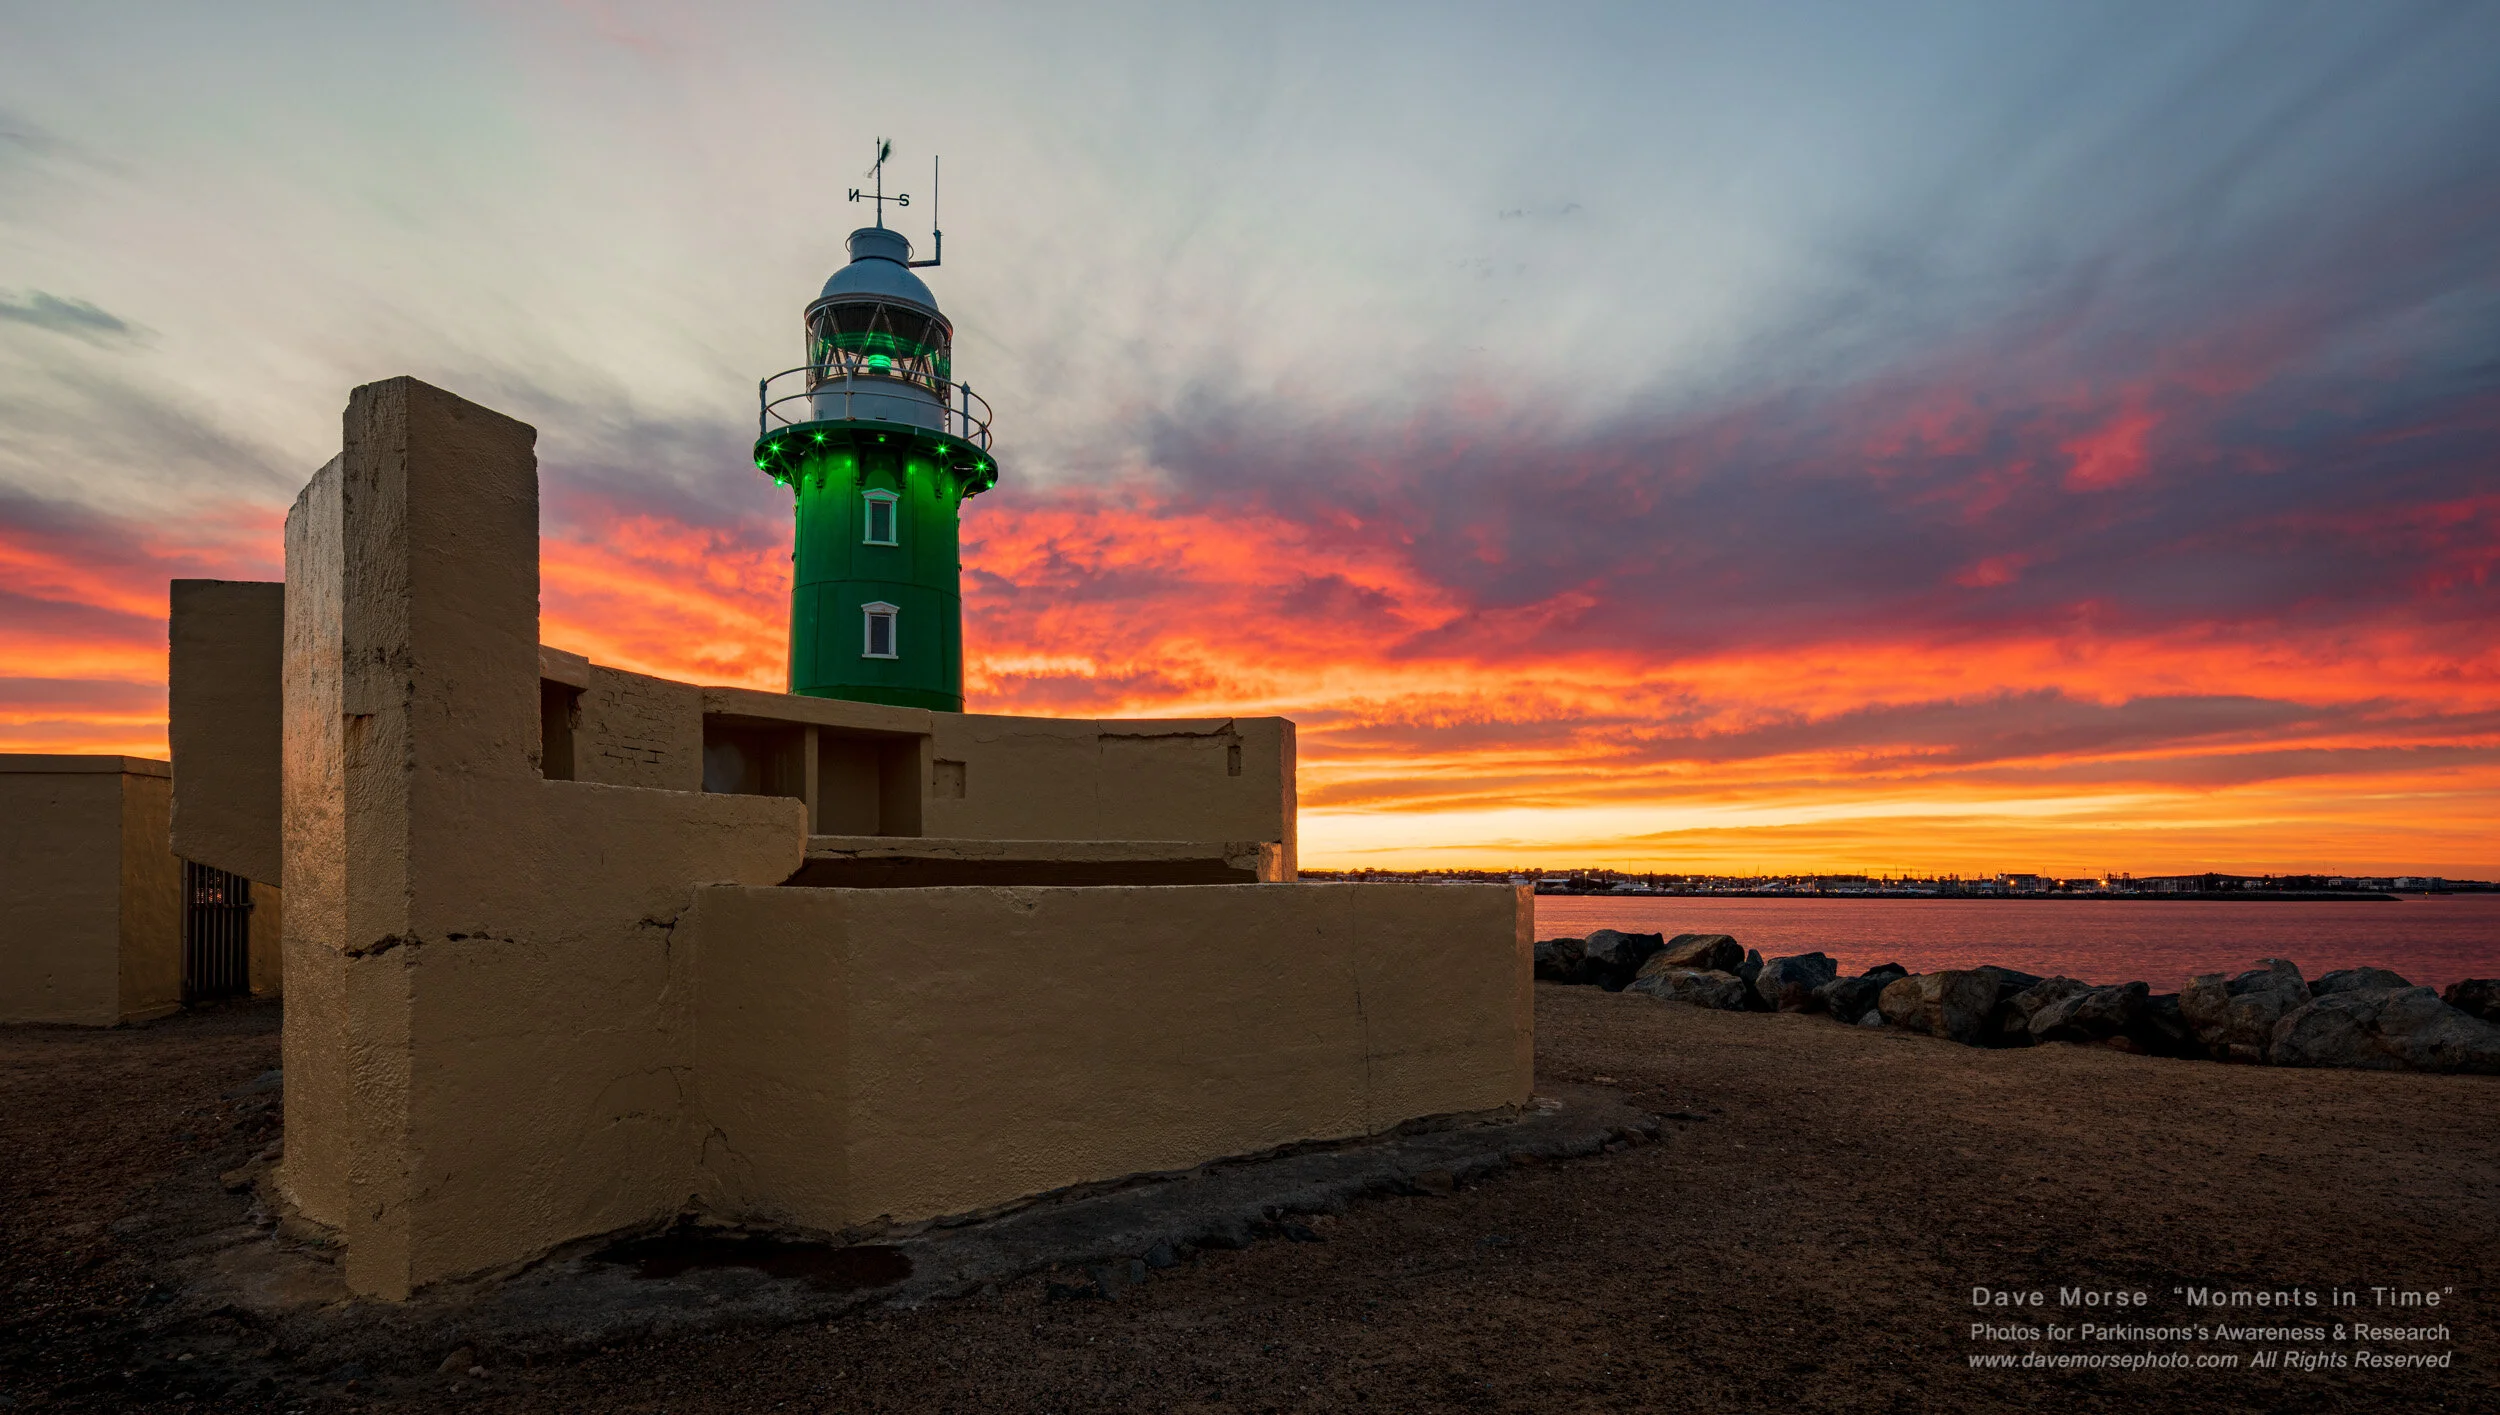
Image. F 25
Morning at South Mole Lighthouse.
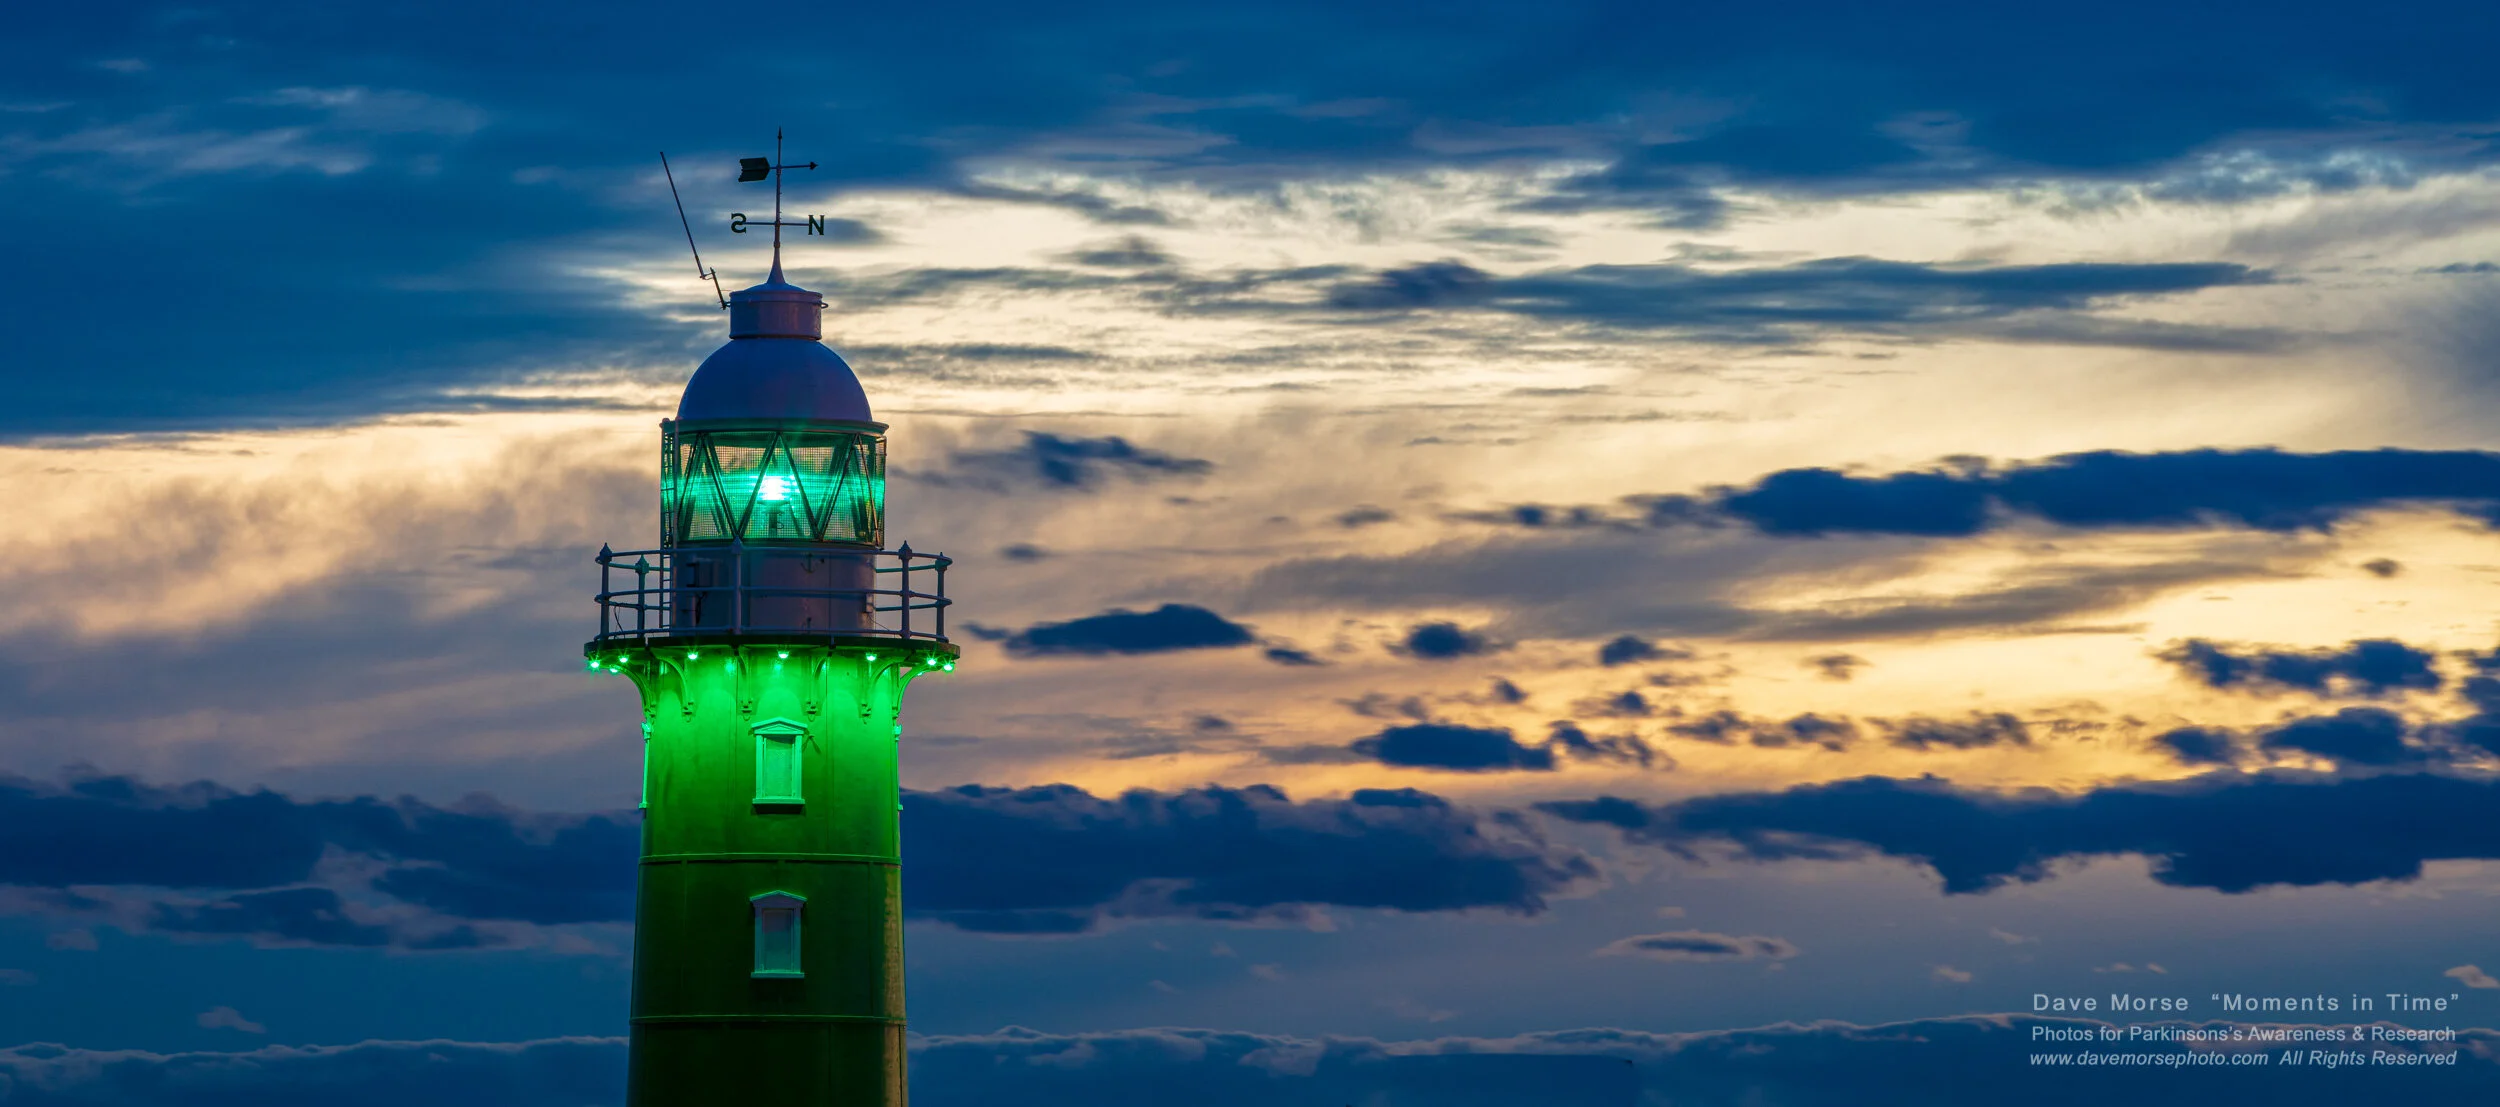
Image. F 26
Evening at South Mole Lighthouse.